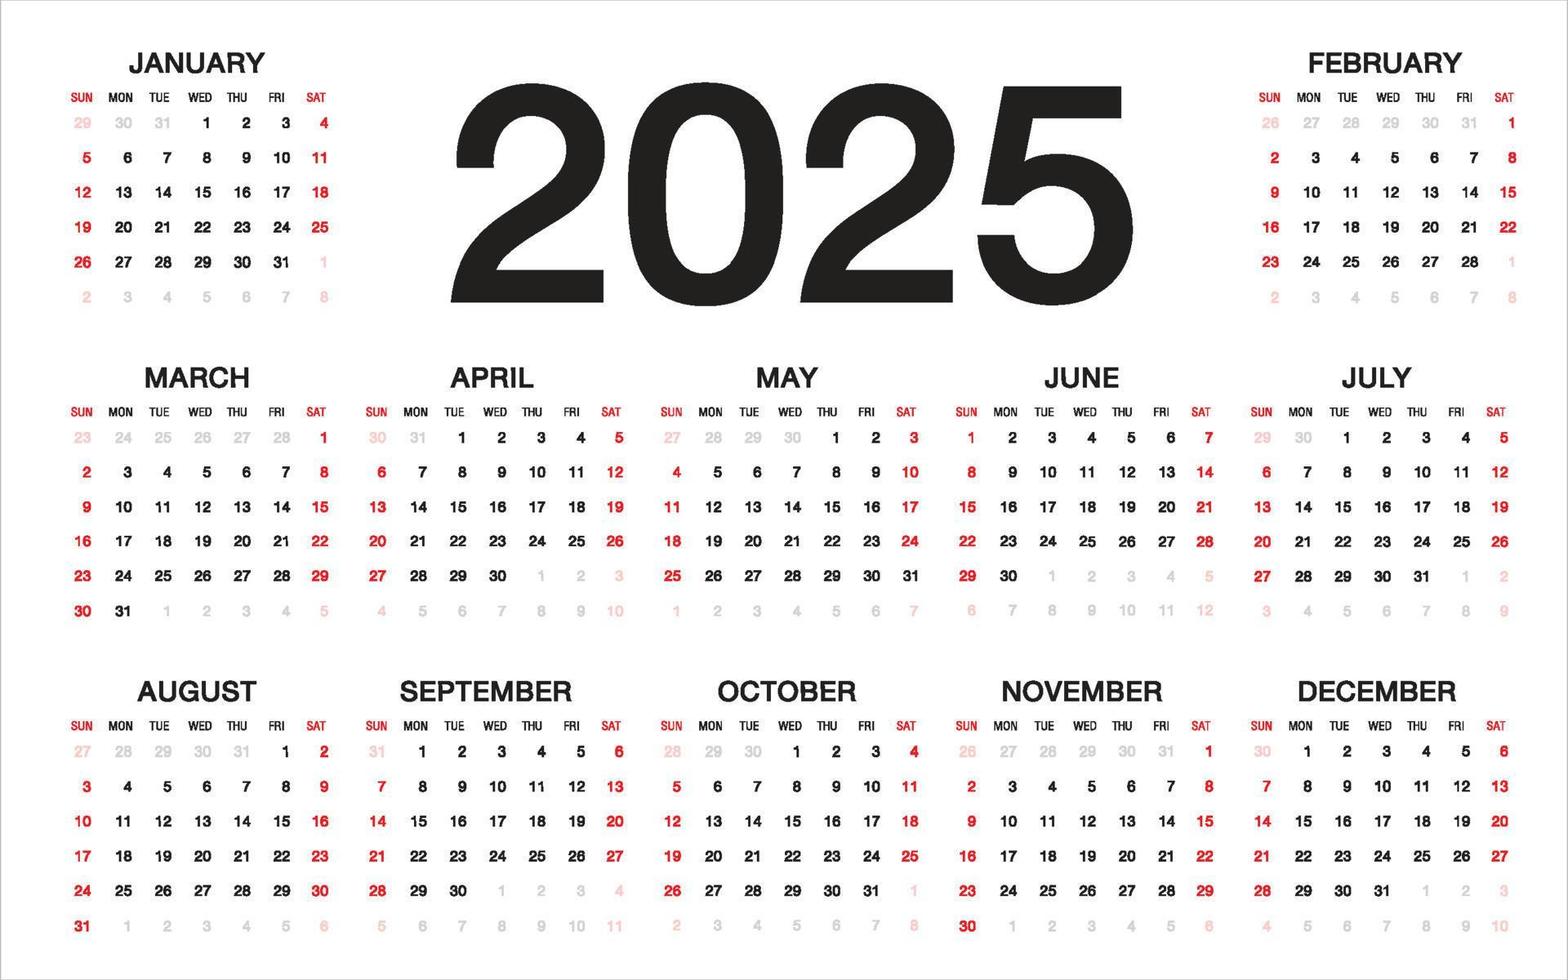
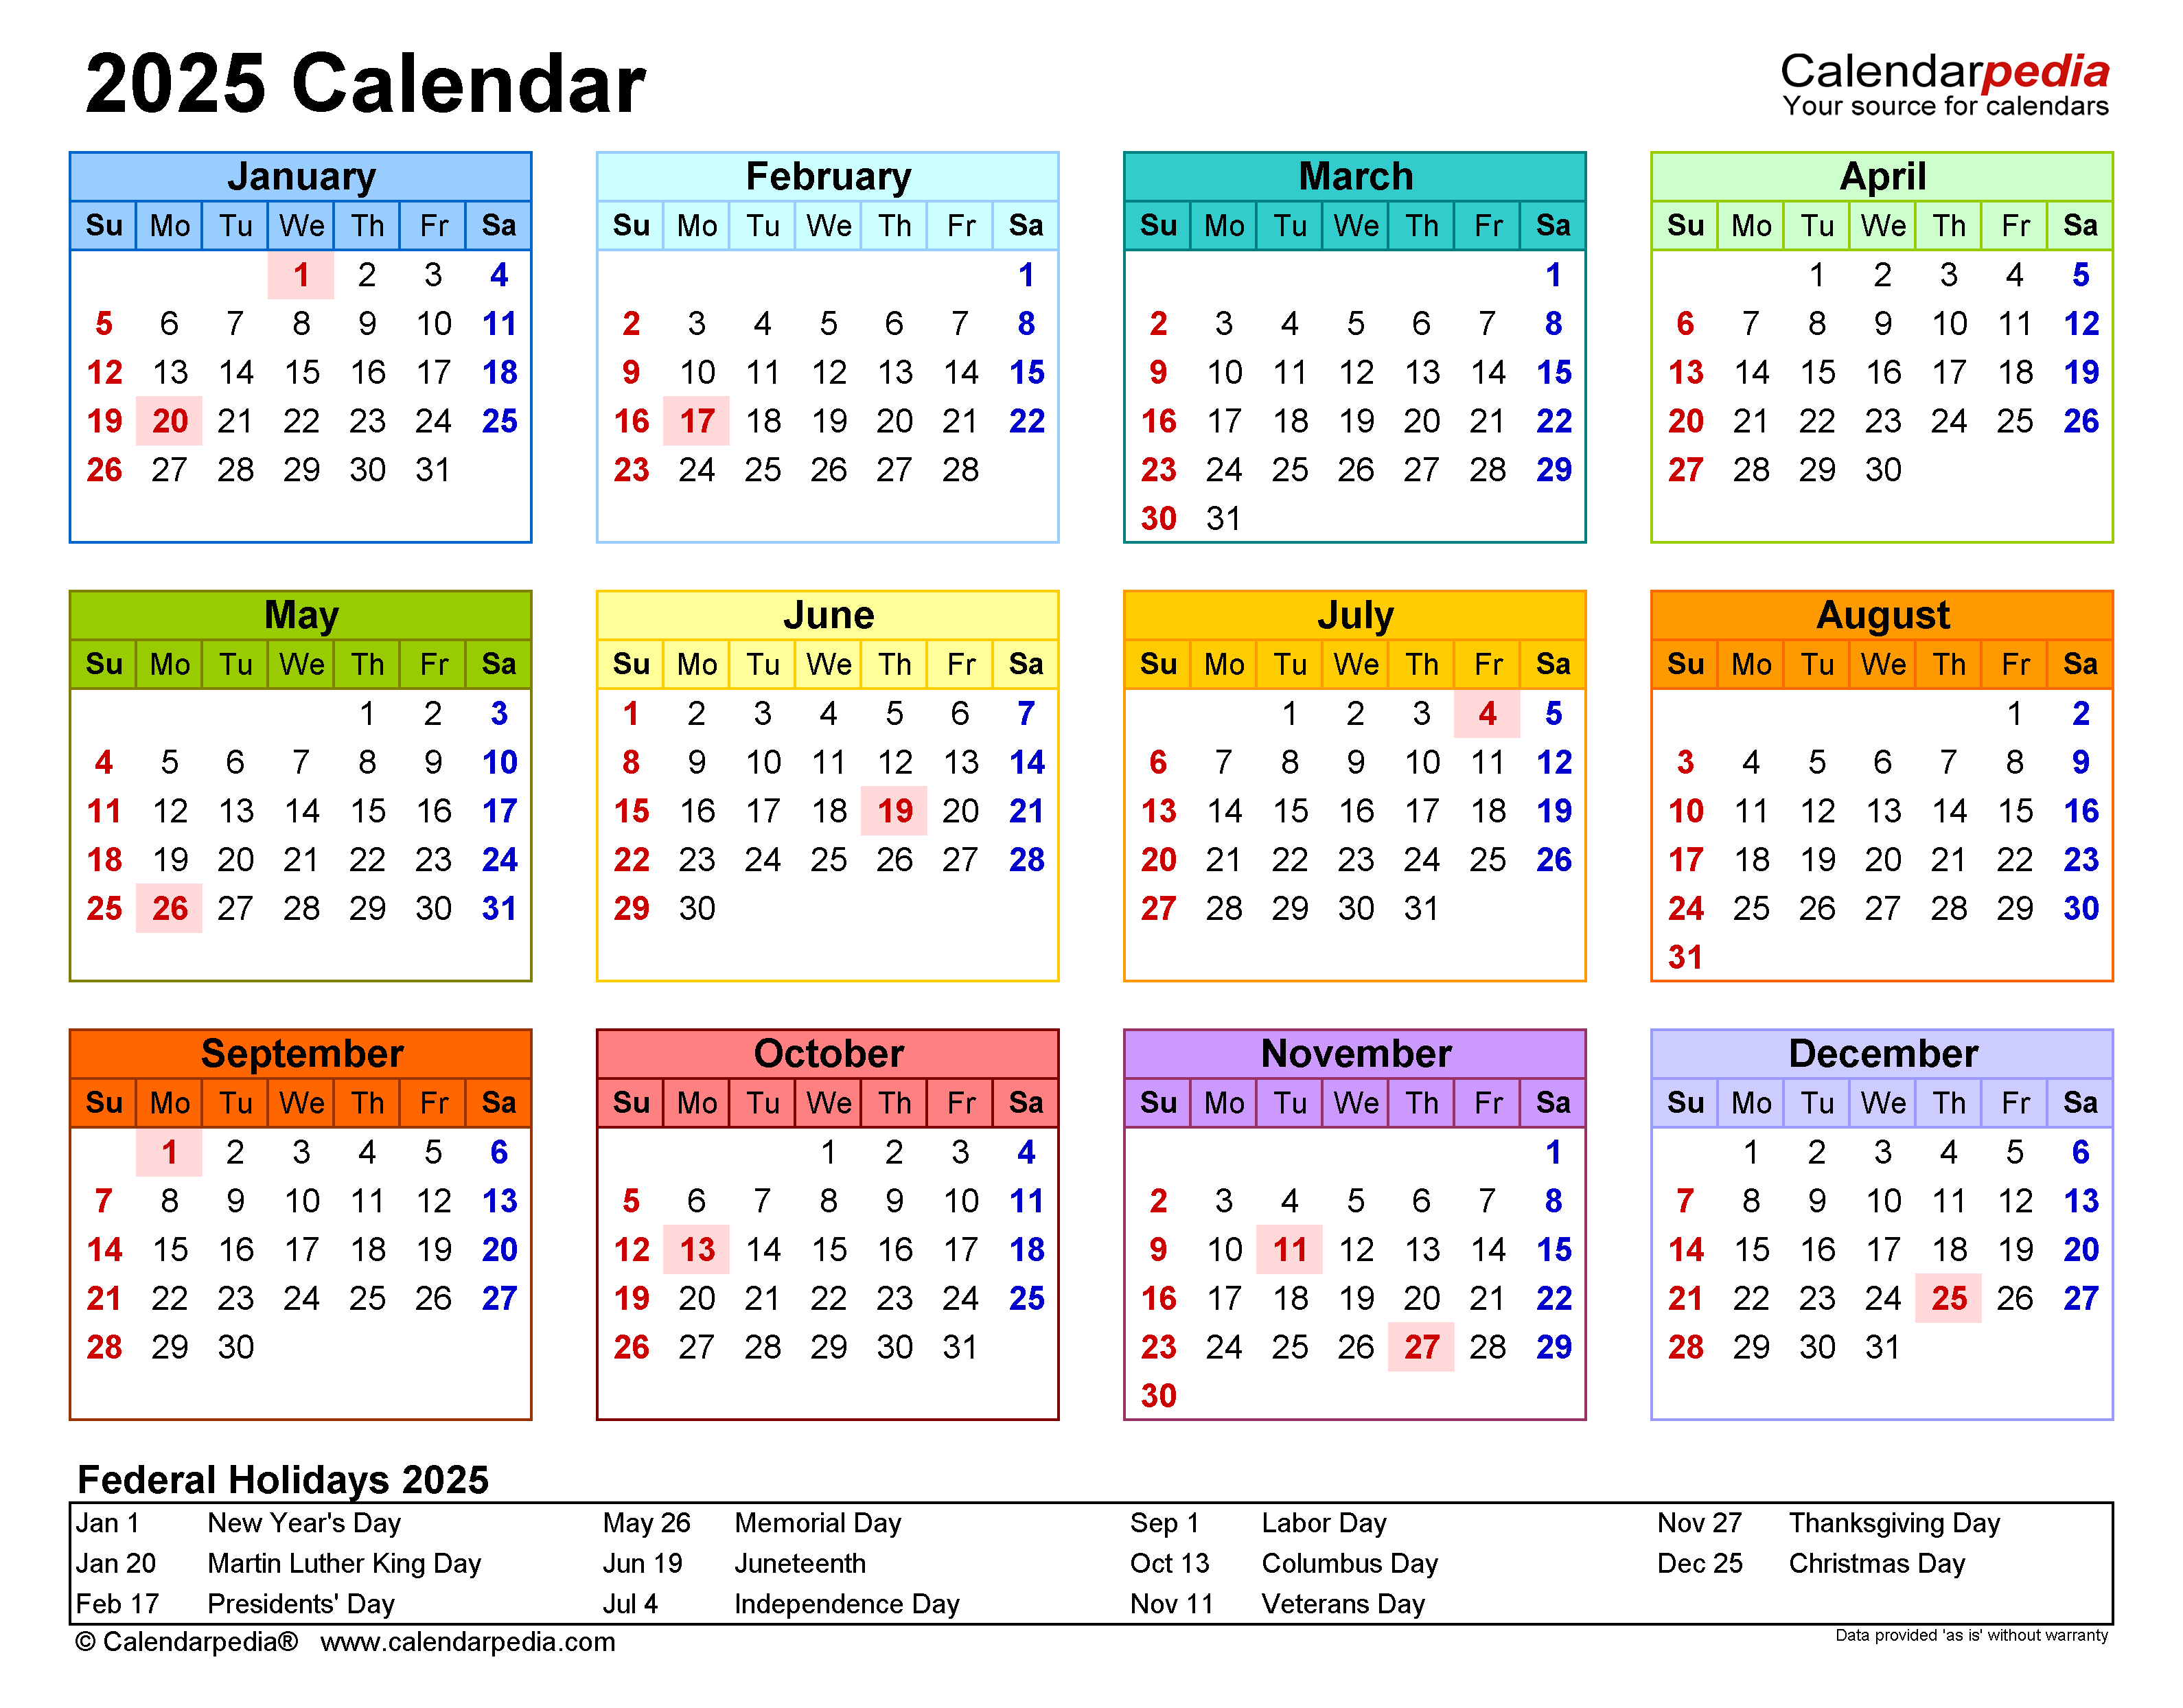
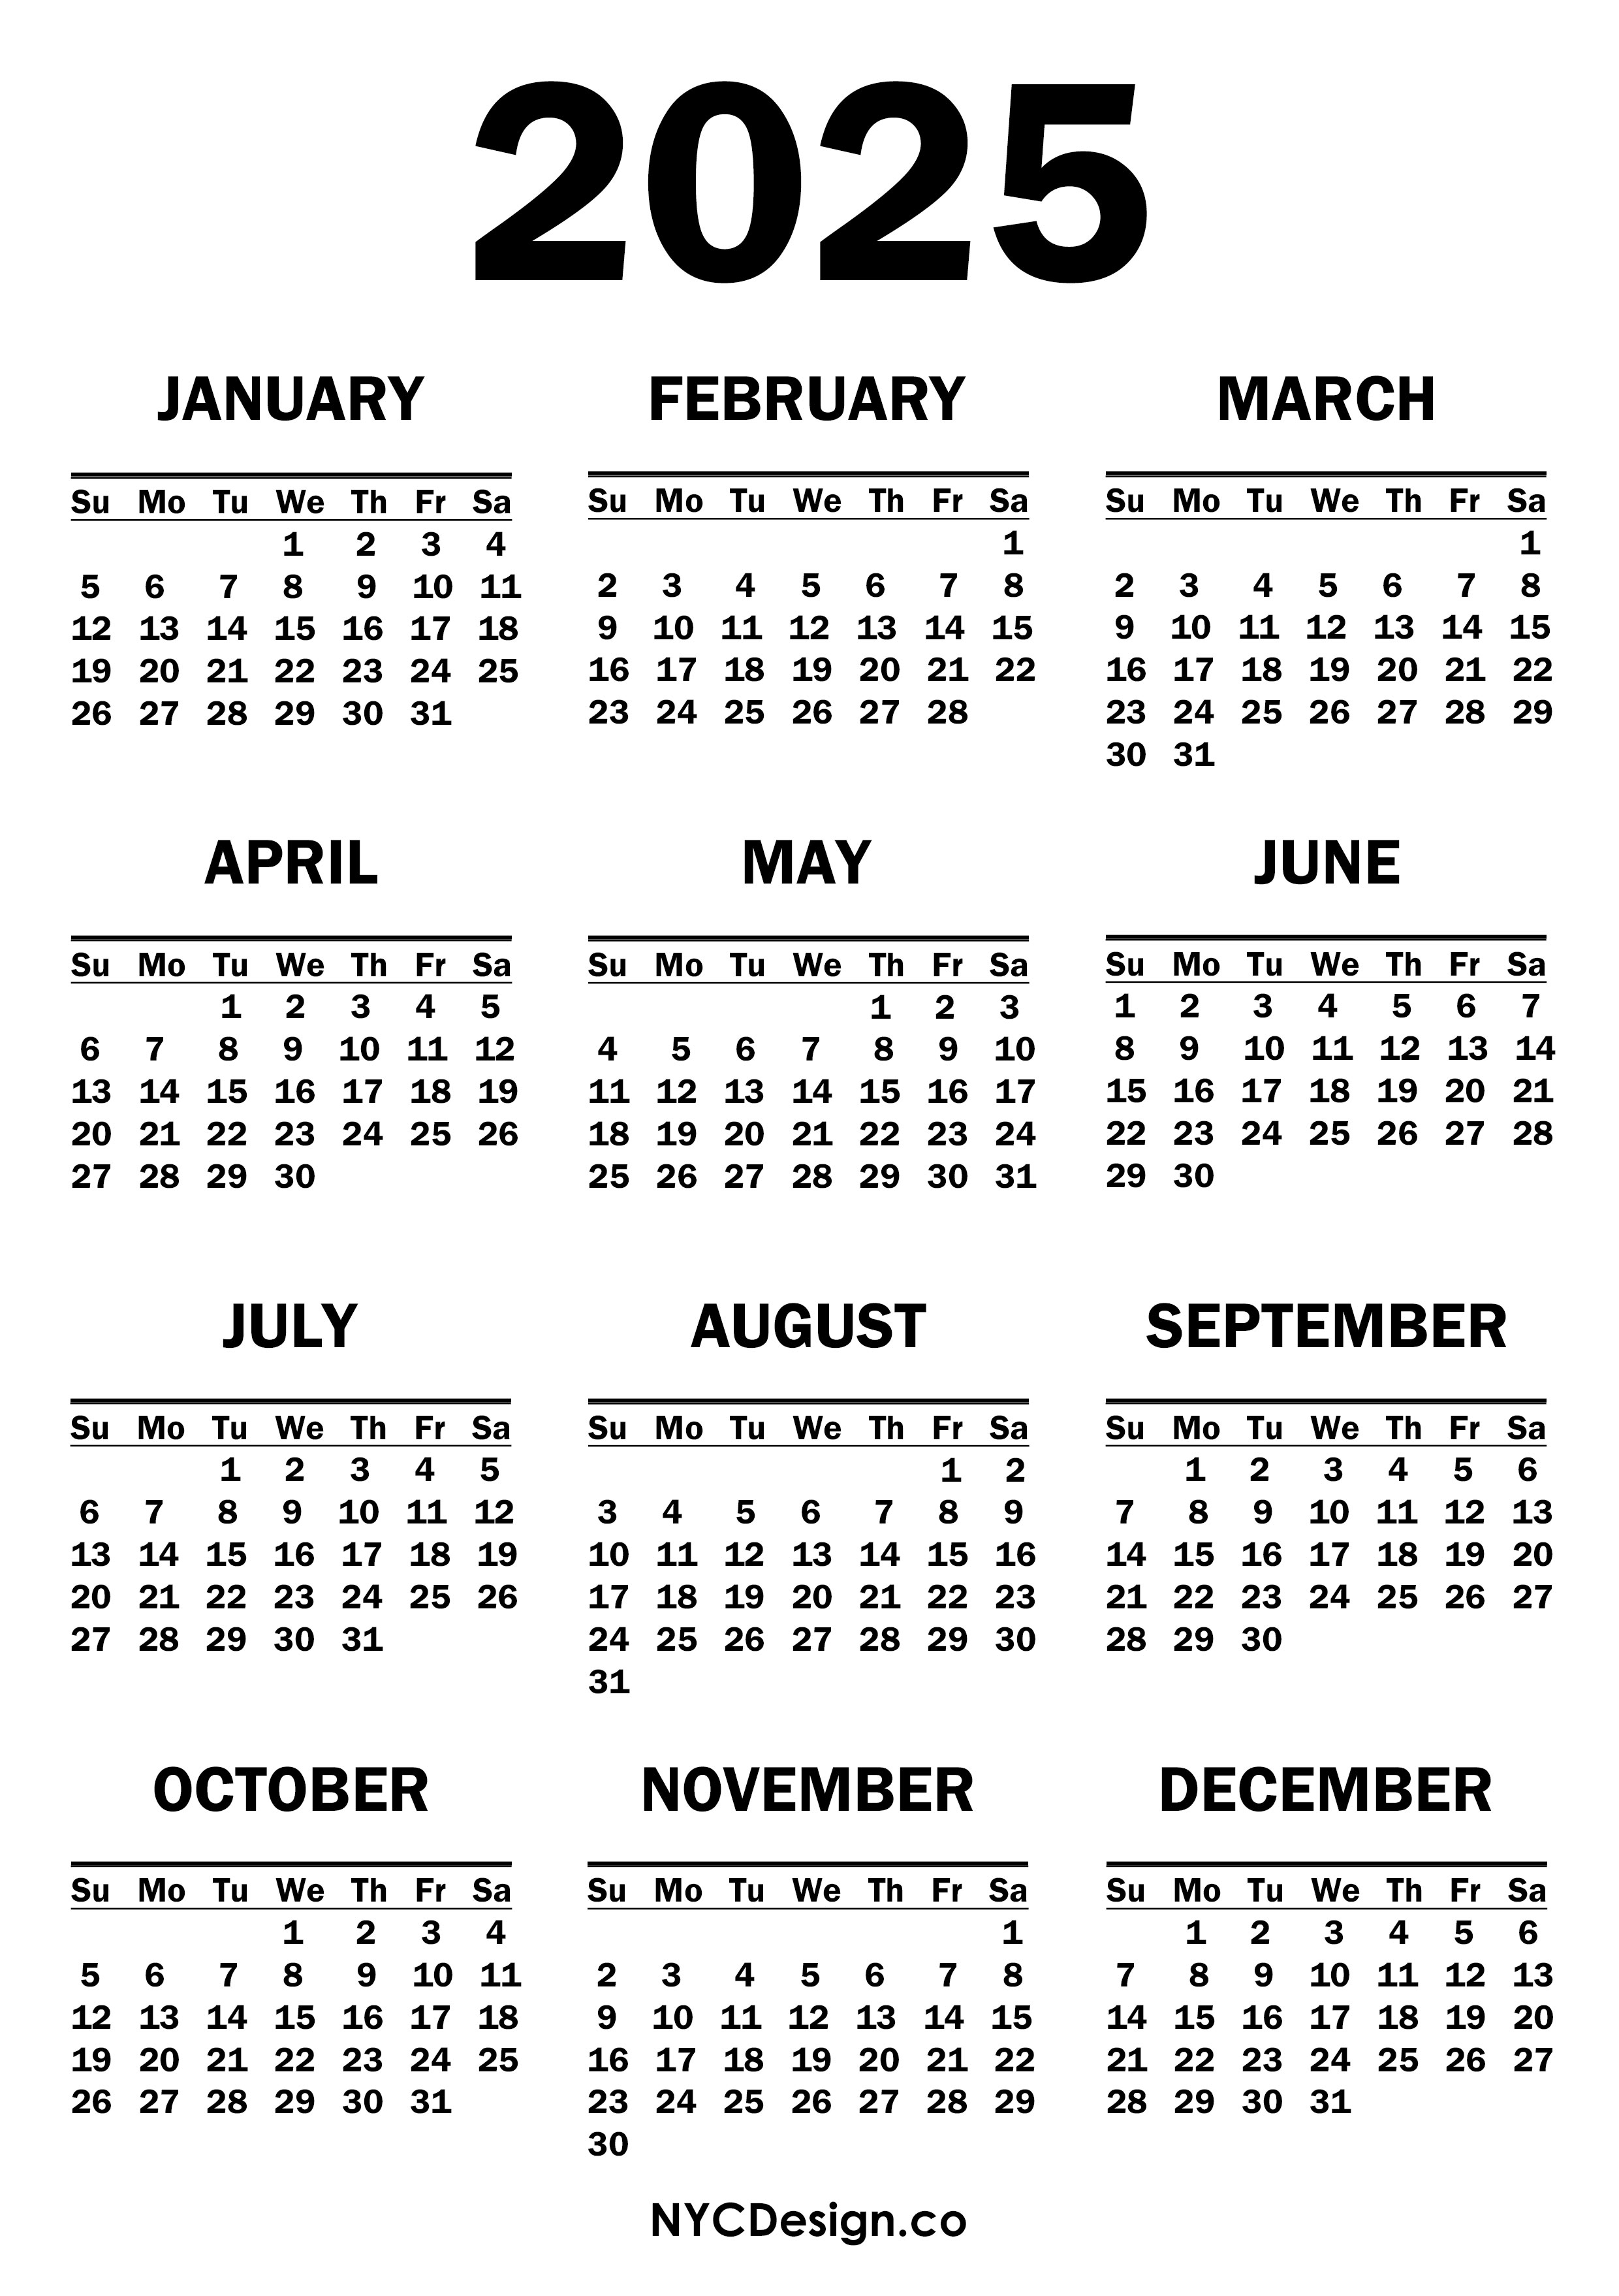
2025 Calendar in CDR: An Extensive Guide to Creating a Professional-Grade Calendar
Related Articles: 2025 Calendar in CDR: An Extensive Guide to Creating a Professional-Grade Calendar
- Calendario 2025 México PDF: A Comprehensive Guide To Mexican Holidays And Observances
- F1 Calendar 2025: A Comprehensive Guide To The Season’s Thrilling Races
- 2025 Kuwait New Calendar: A Comprehensive Guide
- The University Of Calgary Academic Calendar 2025: A Comprehensive Guide
- Yearly Calendar 2025 Template: A Comprehensive Guide For Planning And Organization
Introduction
With great pleasure, we will explore the intriguing topic related to 2025 Calendar in CDR: An Extensive Guide to Creating a Professional-Grade Calendar. Let’s weave interesting information and offer fresh perspectives to the readers.
Table of Content
Video about 2025 Calendar in CDR: An Extensive Guide to Creating a Professional-Grade Calendar
2025 Calendar in CDR: An Extensive Guide to Creating a Professional-Grade Calendar

Introduction
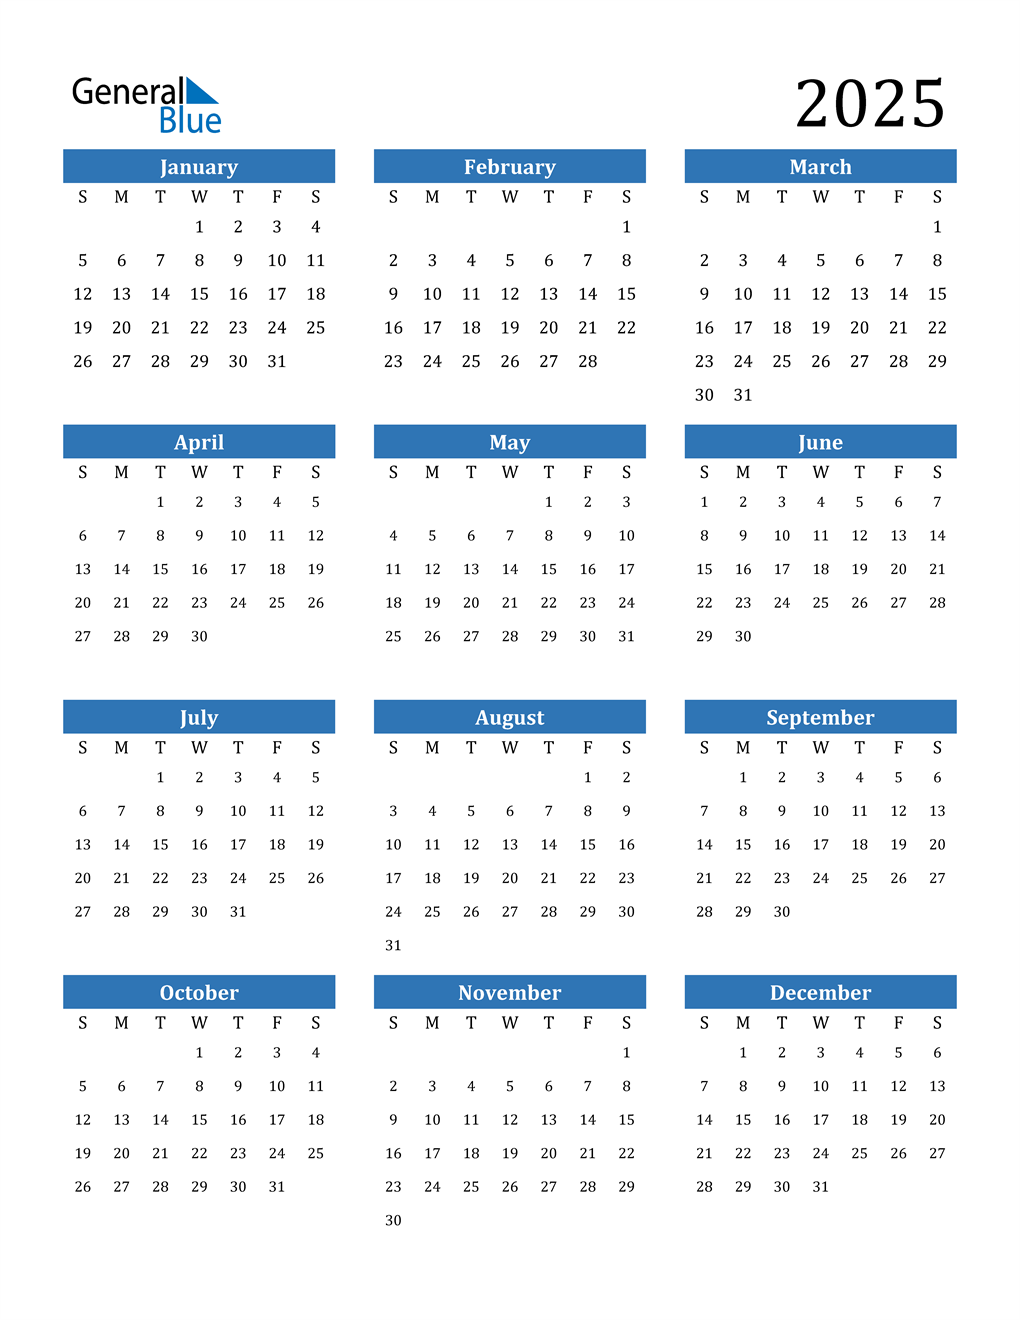
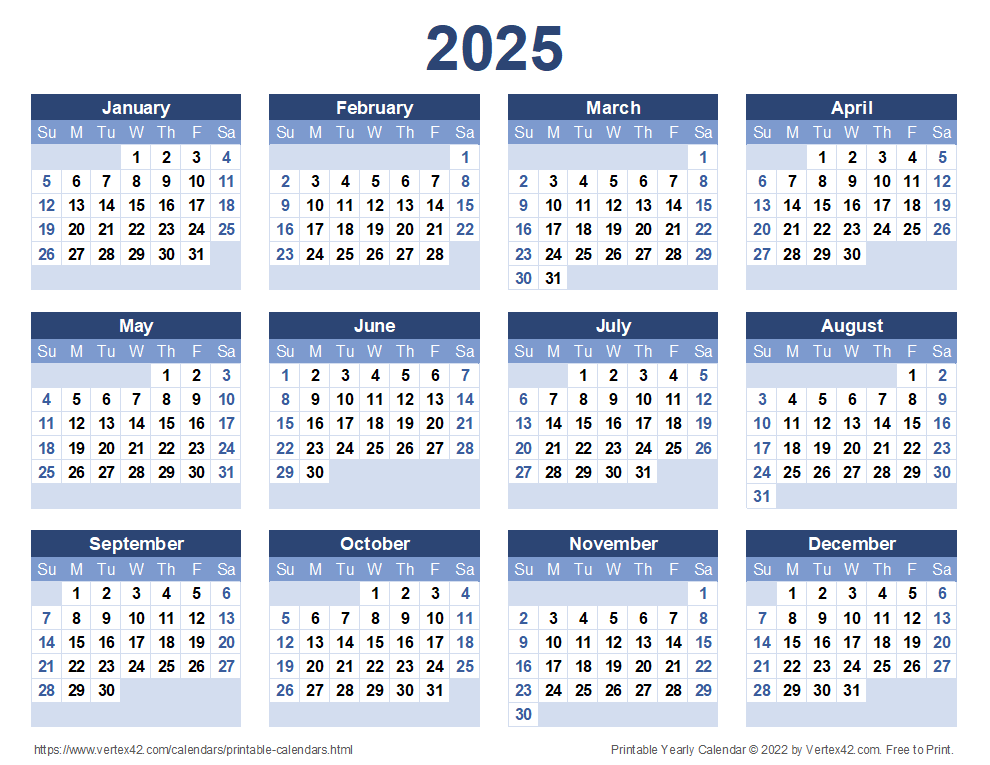
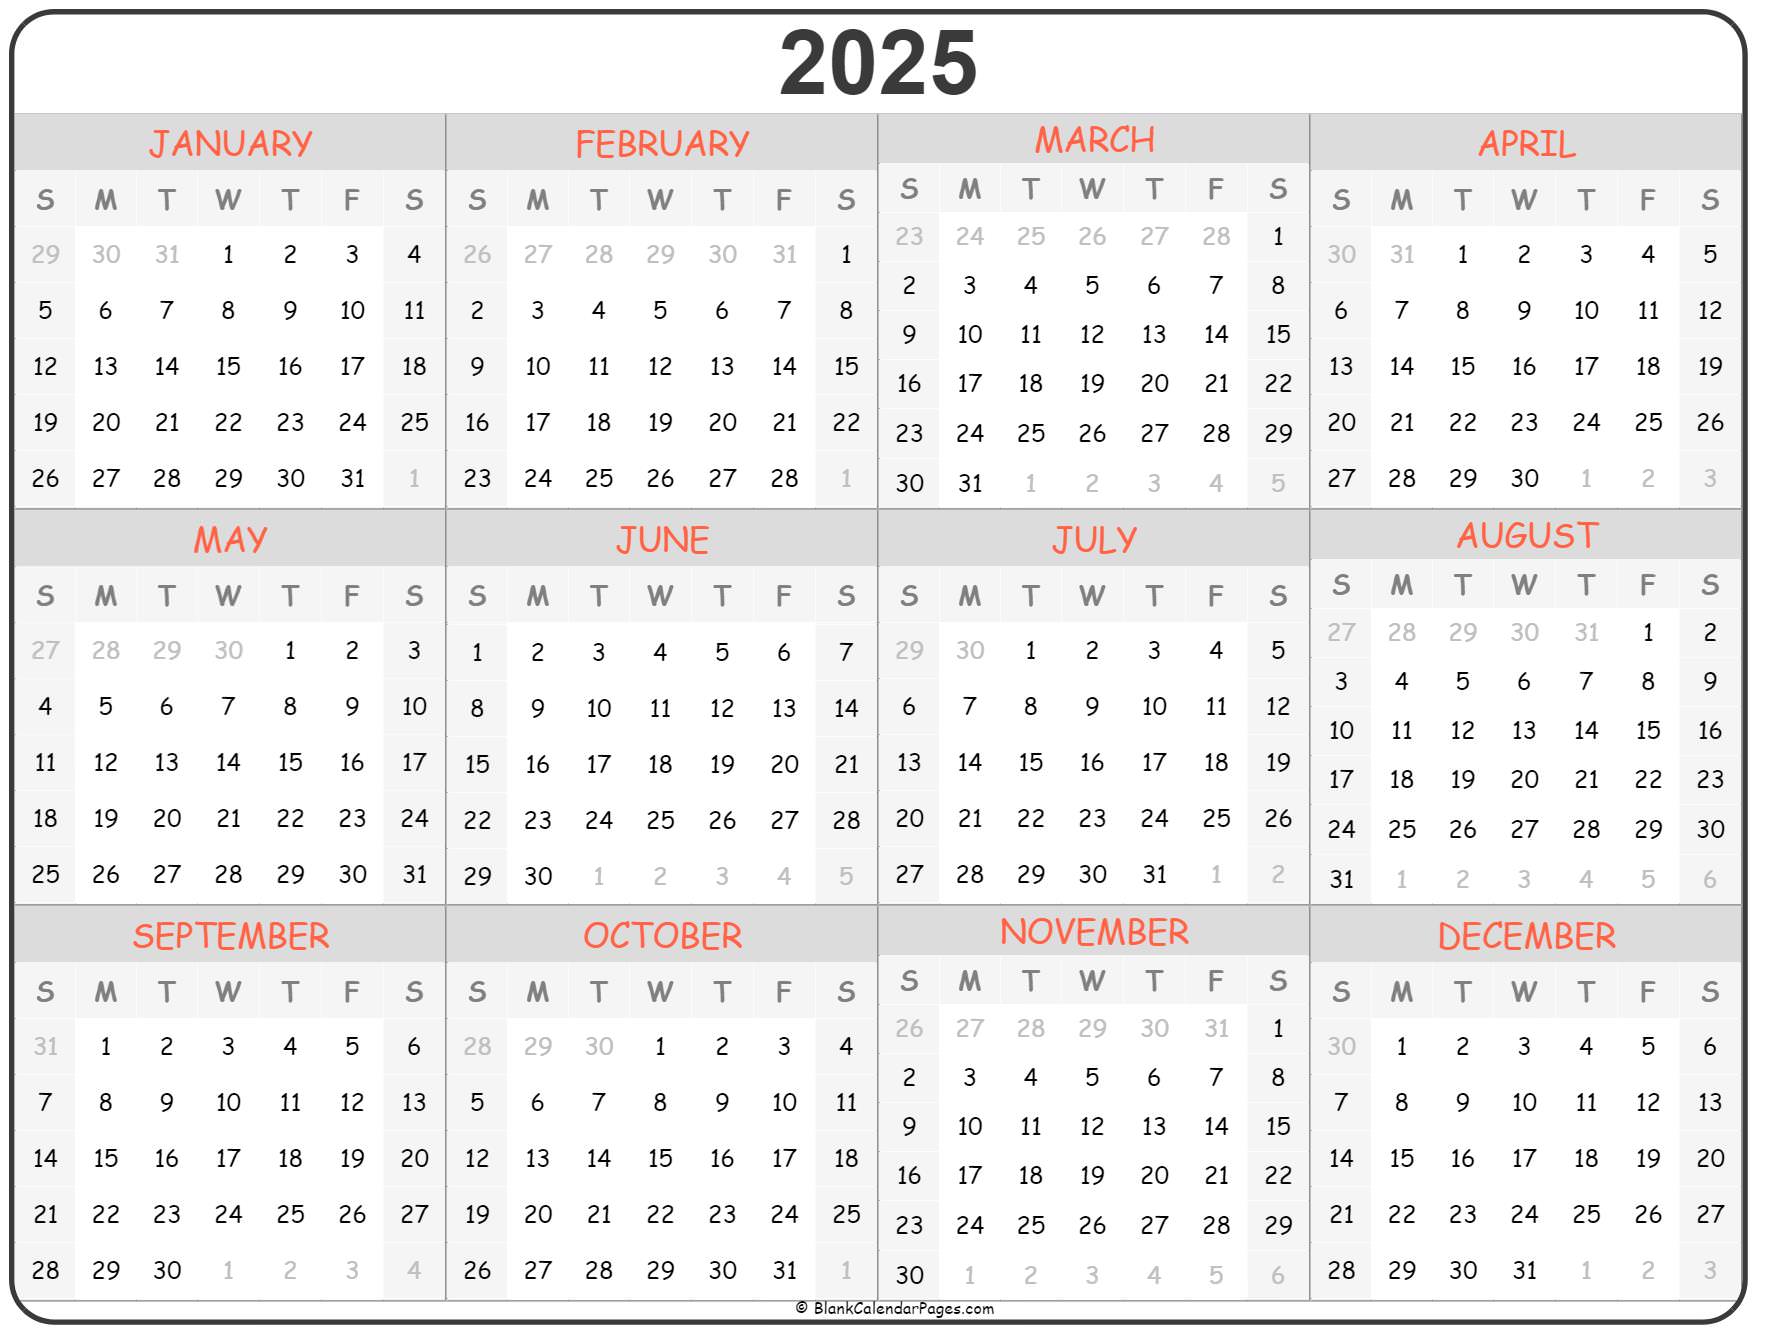
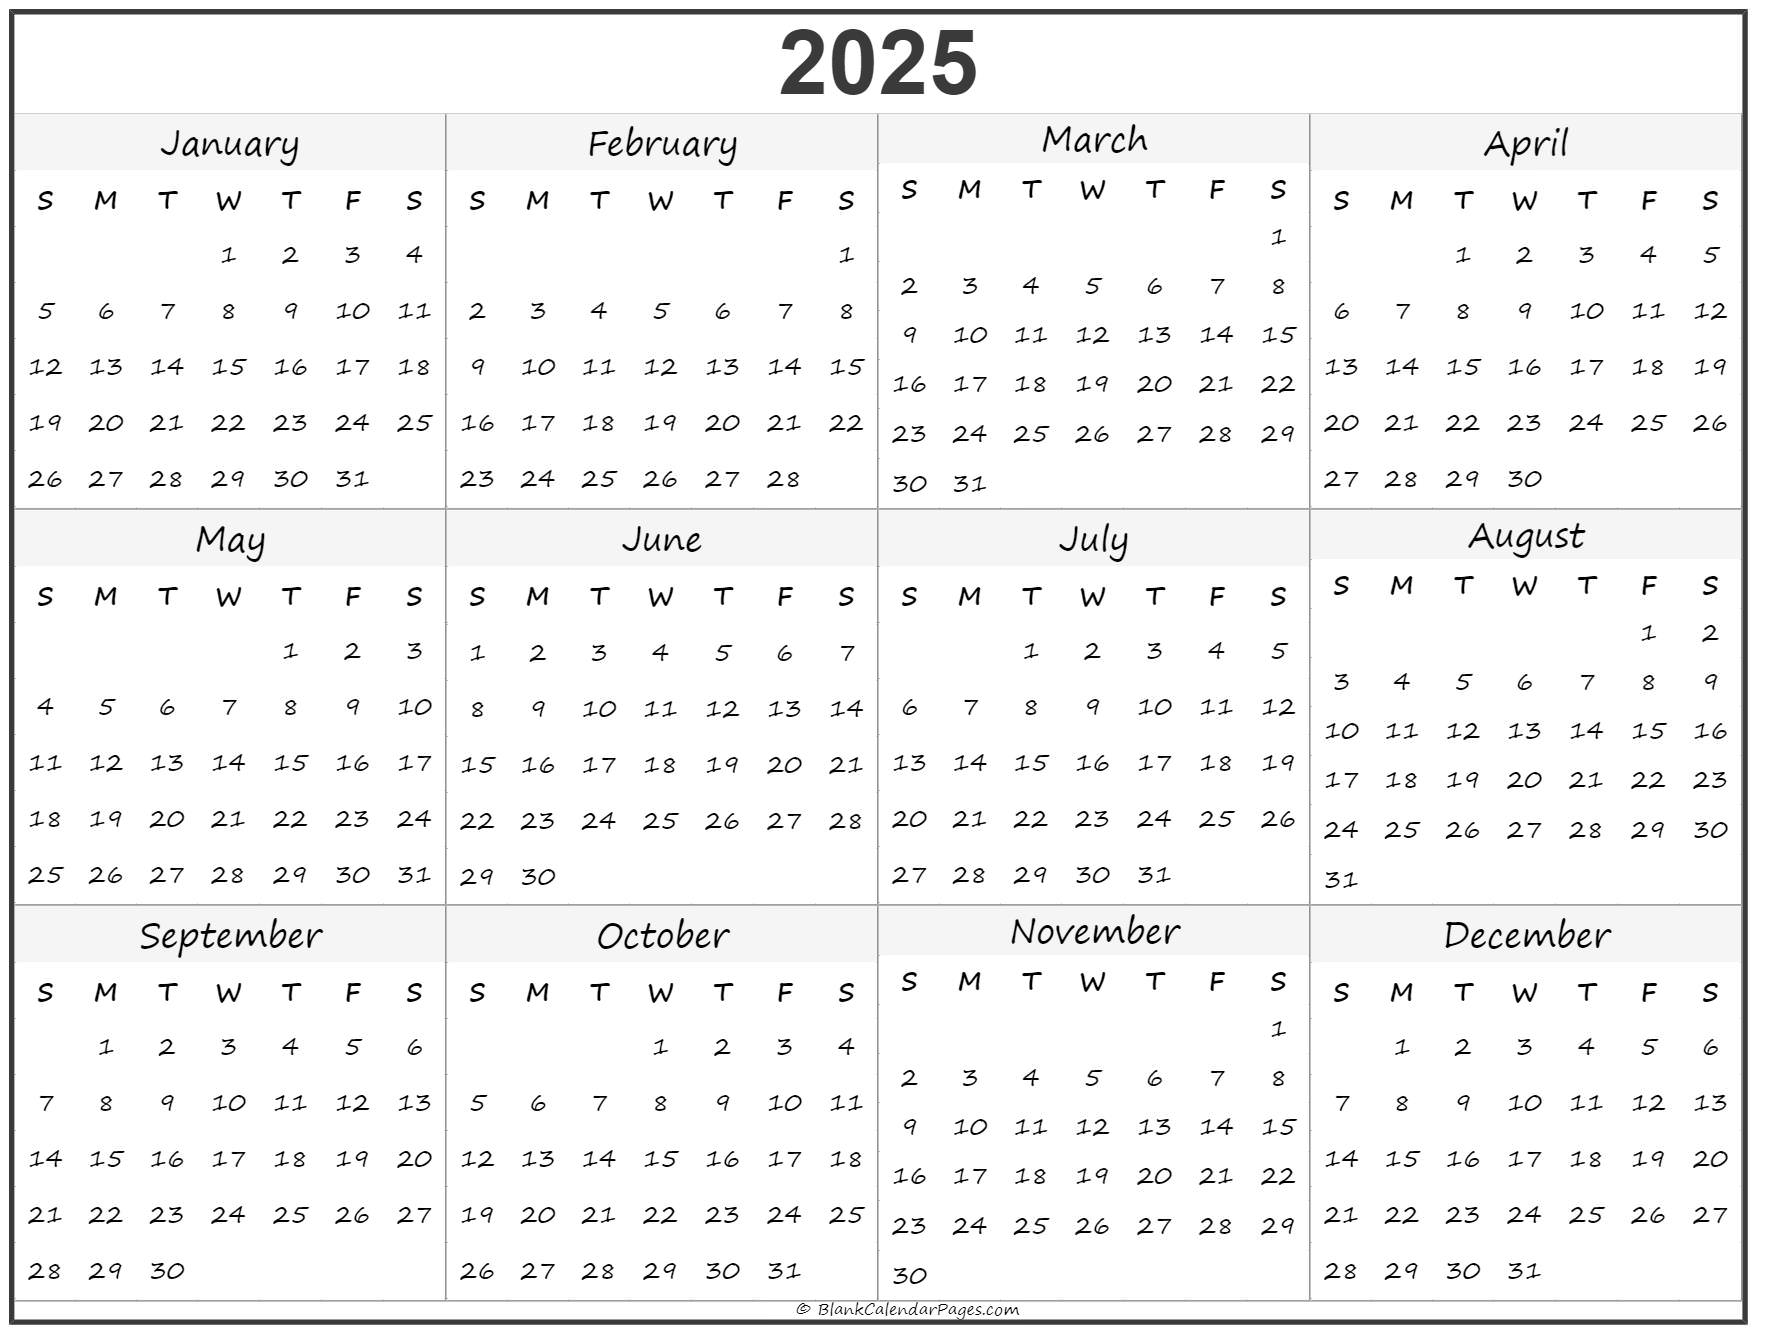
A calendar is an essential tool for organizing and planning your year. It provides a visual representation of the months and days, allowing you to easily track appointments, events, and deadlines. In today’s digital age, it’s more important than ever to have a calendar that you can access from anywhere, on any device.
CorelDRAW (CDR) is a powerful vector graphics editor that can be used to create a wide variety of documents, including calendars. CDR calendars are highly customizable, allowing you to add your own text, images, and graphics. They can also be exported to a variety of file formats, including PDF, JPEG, and PNG.
In this guide, we will show you how to create a 2025 calendar in CDR. We will cover everything from setting up the document to adding text and graphics. By the end of this guide, you will be able to create a professional-grade calendar that you can use to stay organized and on track.
Setting Up the Document
The first step is to set up the document. To do this, open CDR and create a new document. The default page size is 8.5 x 11 inches, but you can change this to any size you want.
Next, you need to set the orientation of the document. For a calendar, you will want to use the landscape orientation. To do this, click on the "Page Layout" tab and select "Landscape" from the "Orientation" drop-down menu.
Finally, you need to set the units of measurement. For a calendar, you will want to use inches. To do this, click on the "Units" drop-down menu and select "Inches."
Adding the Grid
The next step is to add the grid. The grid will help you to align the text and graphics on your calendar. To add the grid, click on the "View" menu and select "Grid."
You can customize the grid to your liking. To do this, click on the "Grid" tab in the Options docker. You can change the spacing, color, and style of the grid.
Adding the Months
Now it’s time to add the months. To do this, click on the "Text" tool and select the "Text Frame" tool. Click and drag on the page to create a text frame.
Type the name of the month into the text frame. You can change the font, size, and color of the text using the options in the Properties docker.
Repeat this process for all 12 months.
Adding the Days
Next, you need to add the days. To do this, click on the "Text" tool and select the "Artistic Text" tool. Click and drag on the page to create a text frame.
Type the day of the week into the text frame. You can change the font, size, and color of the text using the options in the Properties docker.
Repeat this process for all 7 days of the week.
Adding the Dates
Now you need to add the dates. To do this, click on the "Text" tool and select the "Artistic Text" tool. Click and drag on the page to create a text frame.
Type the date into the text frame. You can change the font, size, and color of the text using the options in the Properties docker.
Repeat this process for all 365 days of the year.
Adding Graphics
You can add graphics to your calendar to make it more visually appealing. To do this, click on the "Insert" menu and select "Image." Navigate to the image file that you want to add and click "Open."
The image will be placed on the page. You can resize and reposition the image using the handles on the bounding box.
Exporting the Calendar
Once you have finished creating your calendar, you can export it to a variety of file formats. To do this, click on the "File" menu and select "Export."
In the Export dialog box, select the file format that you want to use. You can also choose to export the calendar as a single page or as a multi-page PDF.
Click on the "Export" button to save the calendar.
Conclusion
Creating a calendar in CDR is a quick and easy way to stay organized and on track. By following the steps in this guide, you can create a professional-grade calendar that you can use for years to come.

Closure
Thus, we hope this article has provided valuable insights into 2025 Calendar in CDR: An Extensive Guide to Creating a Professional-Grade Calendar. We hope you find this article informative and beneficial. See you in our next article!