Creating a 2025 Calendar in Excel: A Comprehensive Guide
Related Articles: Creating a 2025 Calendar in Excel: A Comprehensive Guide
- UH Calendar Spring 2025
- Printable Calendar 2025: A Comprehensive Guide To Planning Your Year
- Canadian Calendar For 2025
- Google Calendar July 2025: A Comprehensive Overview
- UPS Holidays 2025 Calendar: A Comprehensive Guide For Employees And Customers
Introduction
In this auspicious occasion, we are delighted to delve into the intriguing topic related to Creating a 2025 Calendar in Excel: A Comprehensive Guide. Let’s weave interesting information and offer fresh perspectives to the readers.
Table of Content
- 1 Related Articles: Creating a 2025 Calendar in Excel: A Comprehensive Guide
- 2 Introduction
- 3 Video about Creating a 2025 Calendar in Excel: A Comprehensive Guide
- 4 Creating a 2025 Calendar in Excel: A Comprehensive Guide
- 4.1 Step 1: Create a New Workbook
- 4.2 Step 2: Set Up the Header
- 4.3 Step 3: Create the Days of the Week
- 4.4 Step 4: Populate the Calendar
- 4.5 Step 5: Adjust the Column Widths
- 4.6 Step 6: Format the Calendar
- 4.7 Step 7: Save the Calendar
- 4.8 Conclusion
- 5 Closure
Video about Creating a 2025 Calendar in Excel: A Comprehensive Guide
Creating a 2025 Calendar in Excel: A Comprehensive Guide
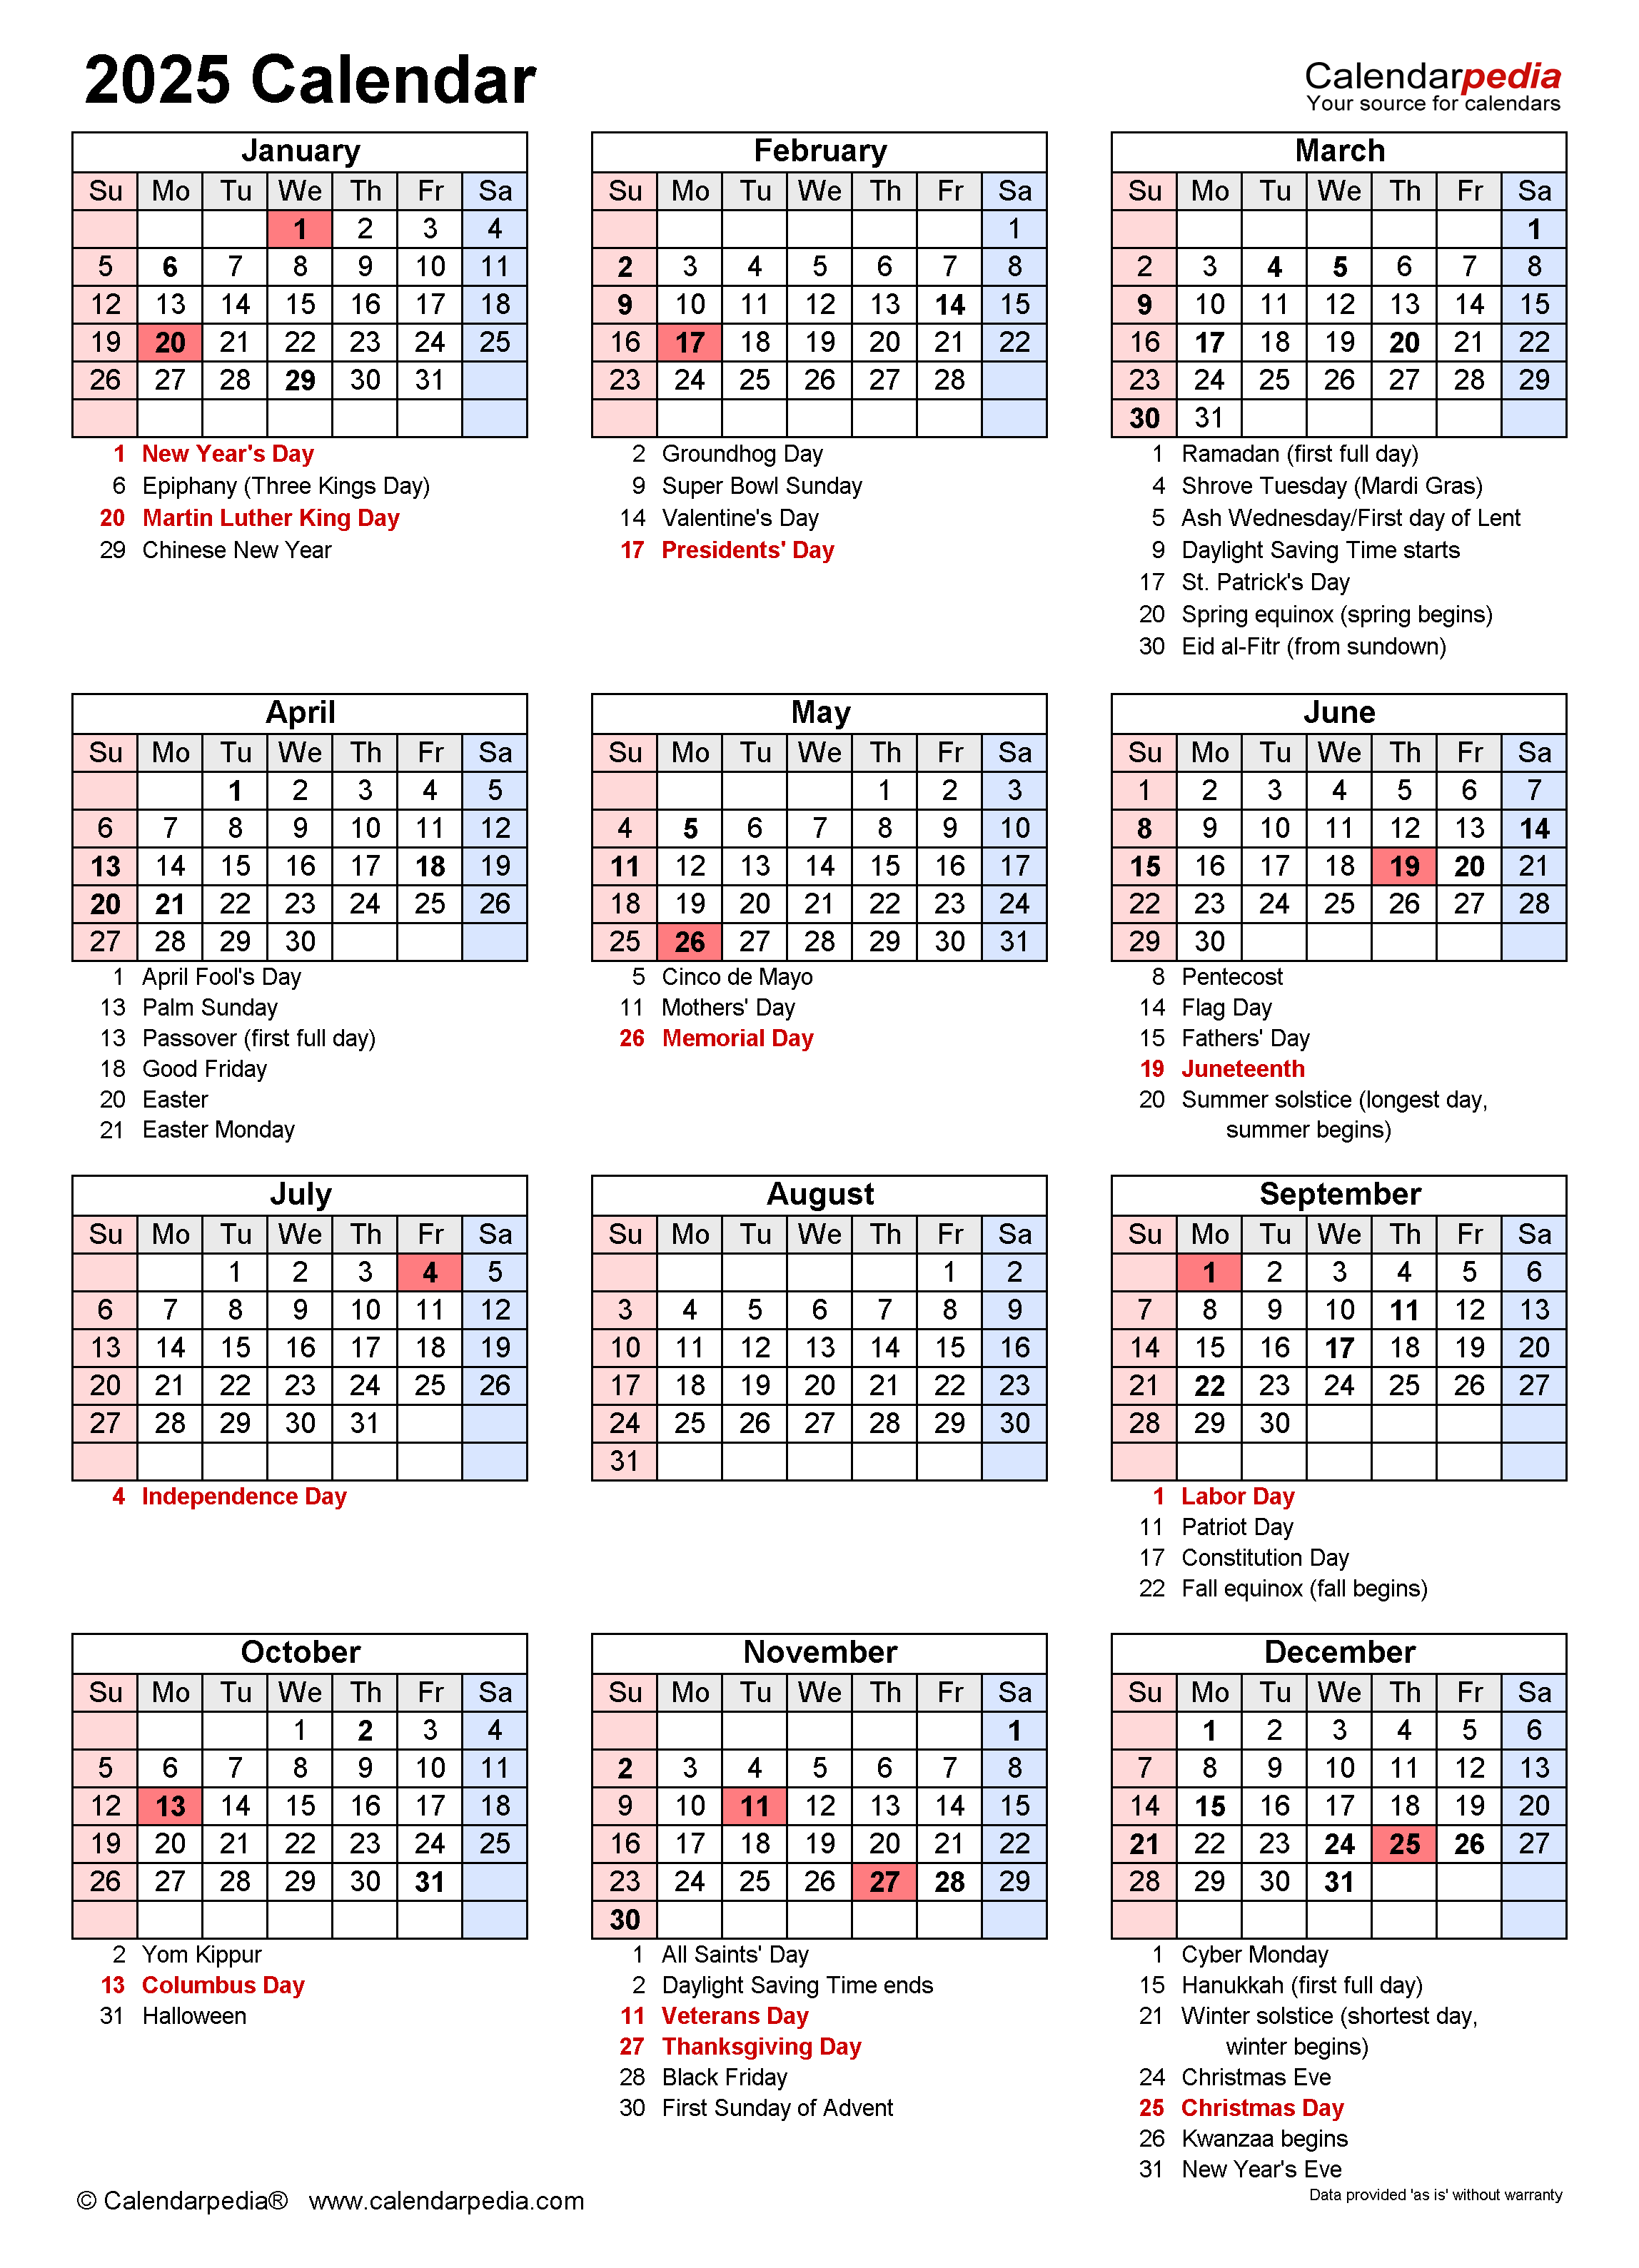
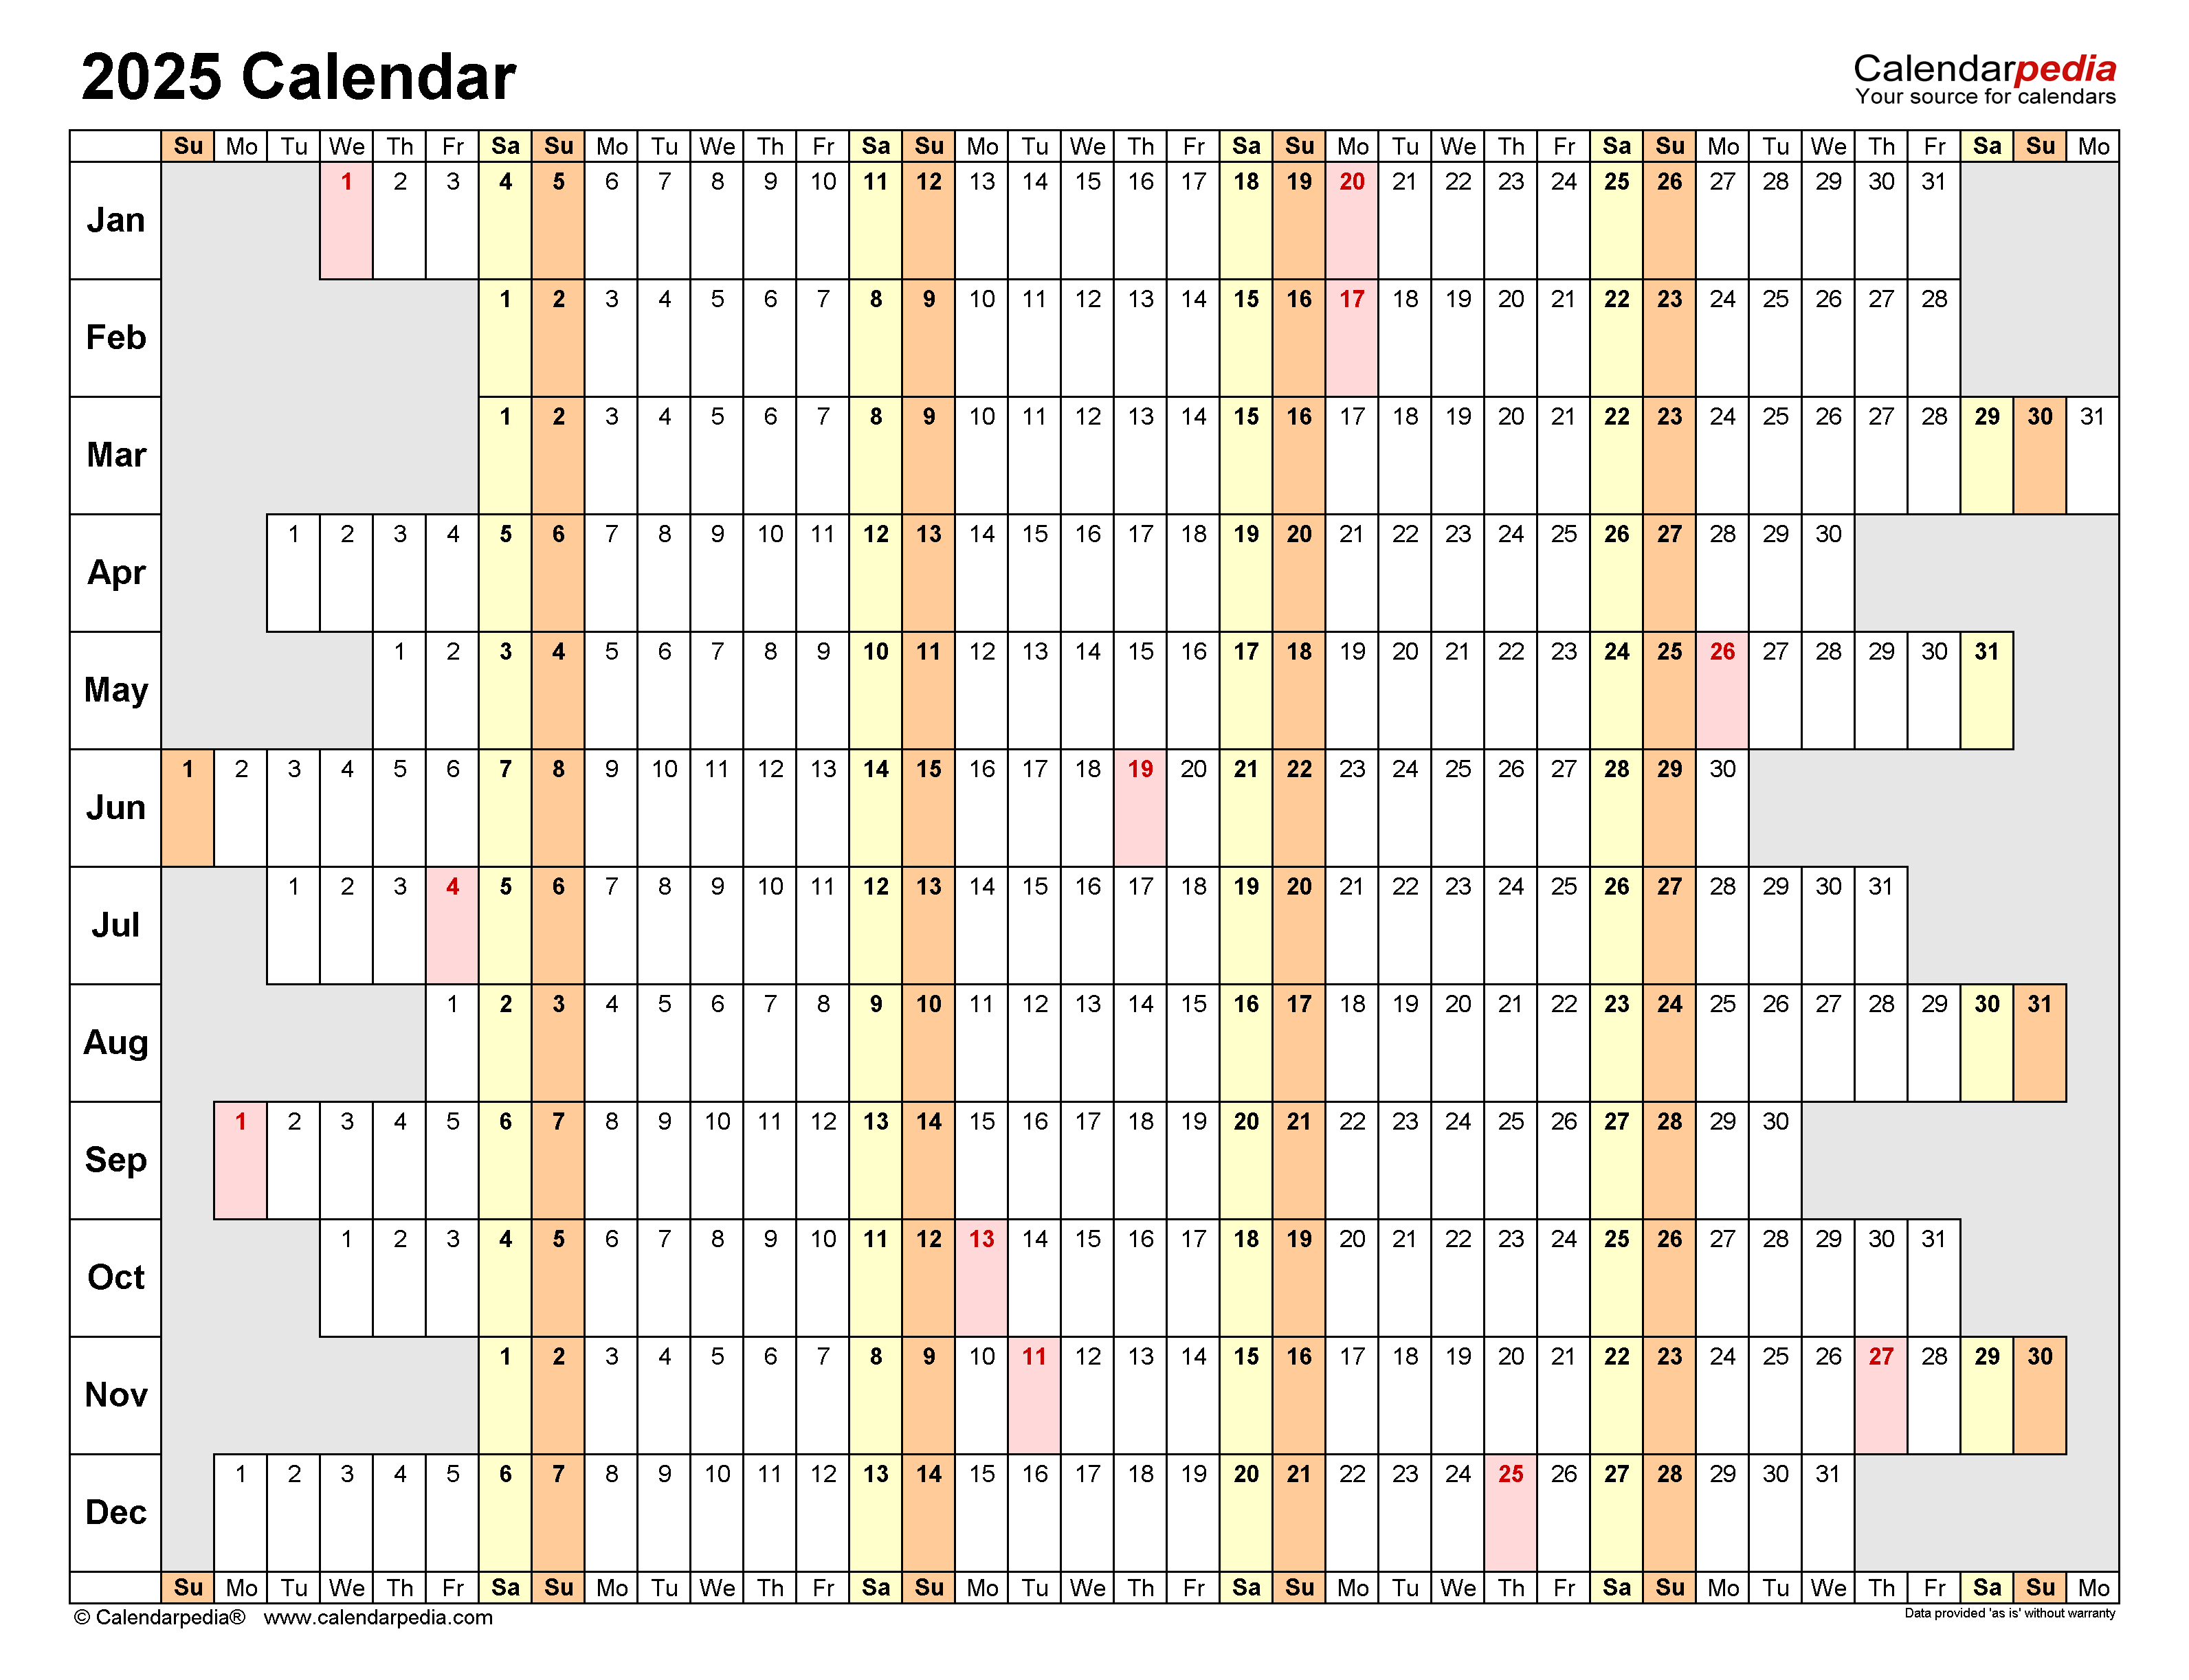
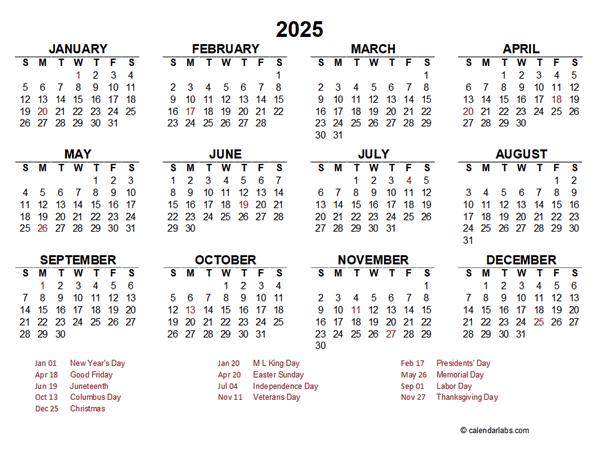
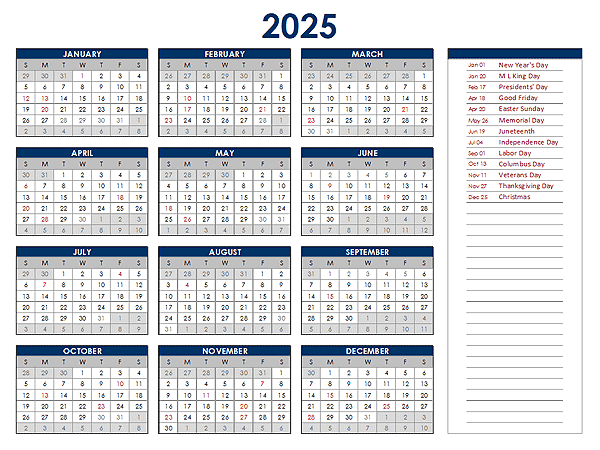
Microsoft Excel is a versatile spreadsheet application that can be used for a wide range of tasks, including creating calendars. In this article, we will provide a step-by-step guide on how to create a 2025 calendar in Excel.
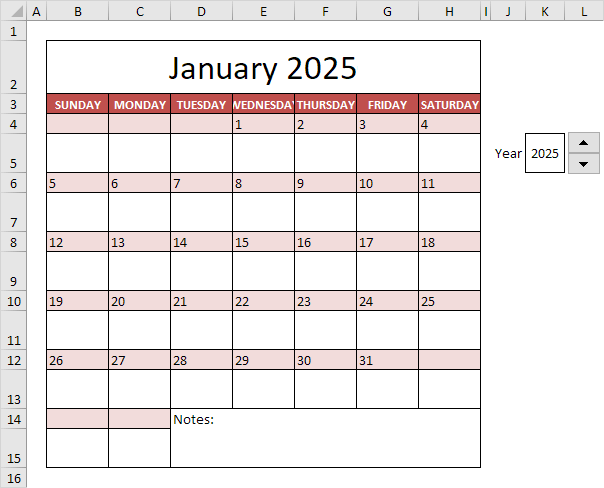
Step 1: Create a New Workbook
To start, open Microsoft Excel and create a new workbook. You can do this by clicking on the "File" tab and then selecting "New" from the left-hand menu.
Step 2: Set Up the Header
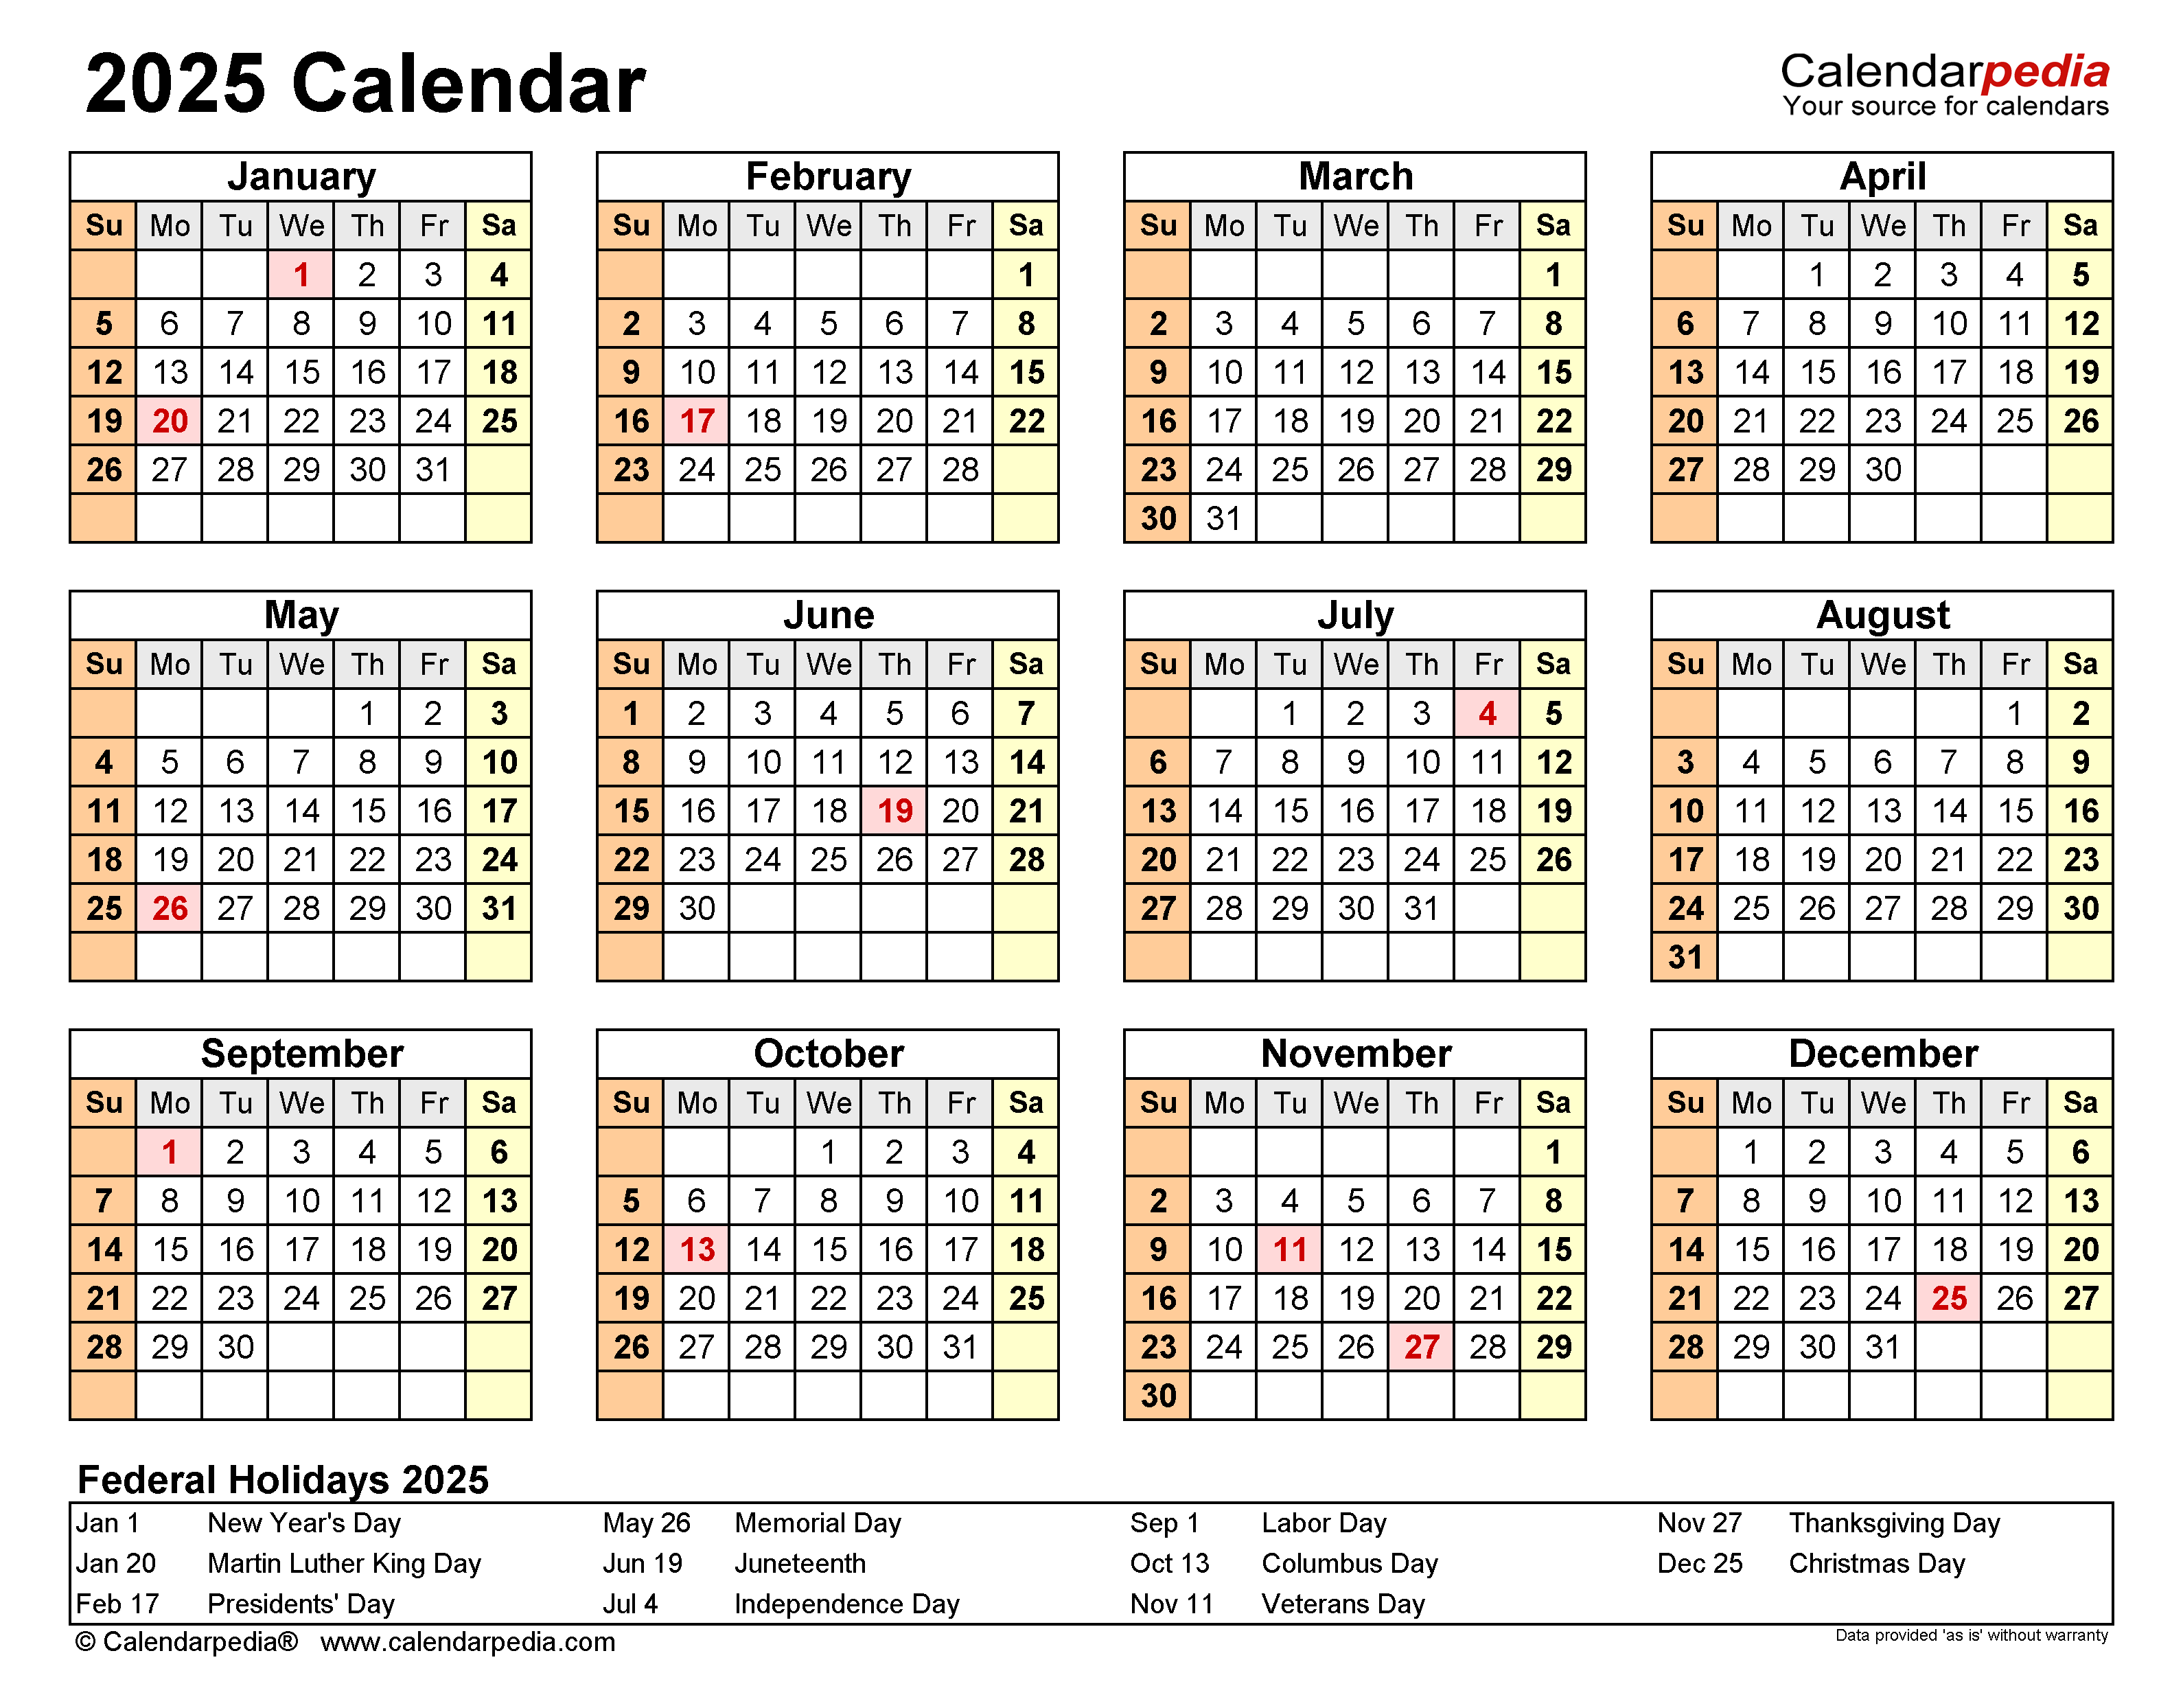
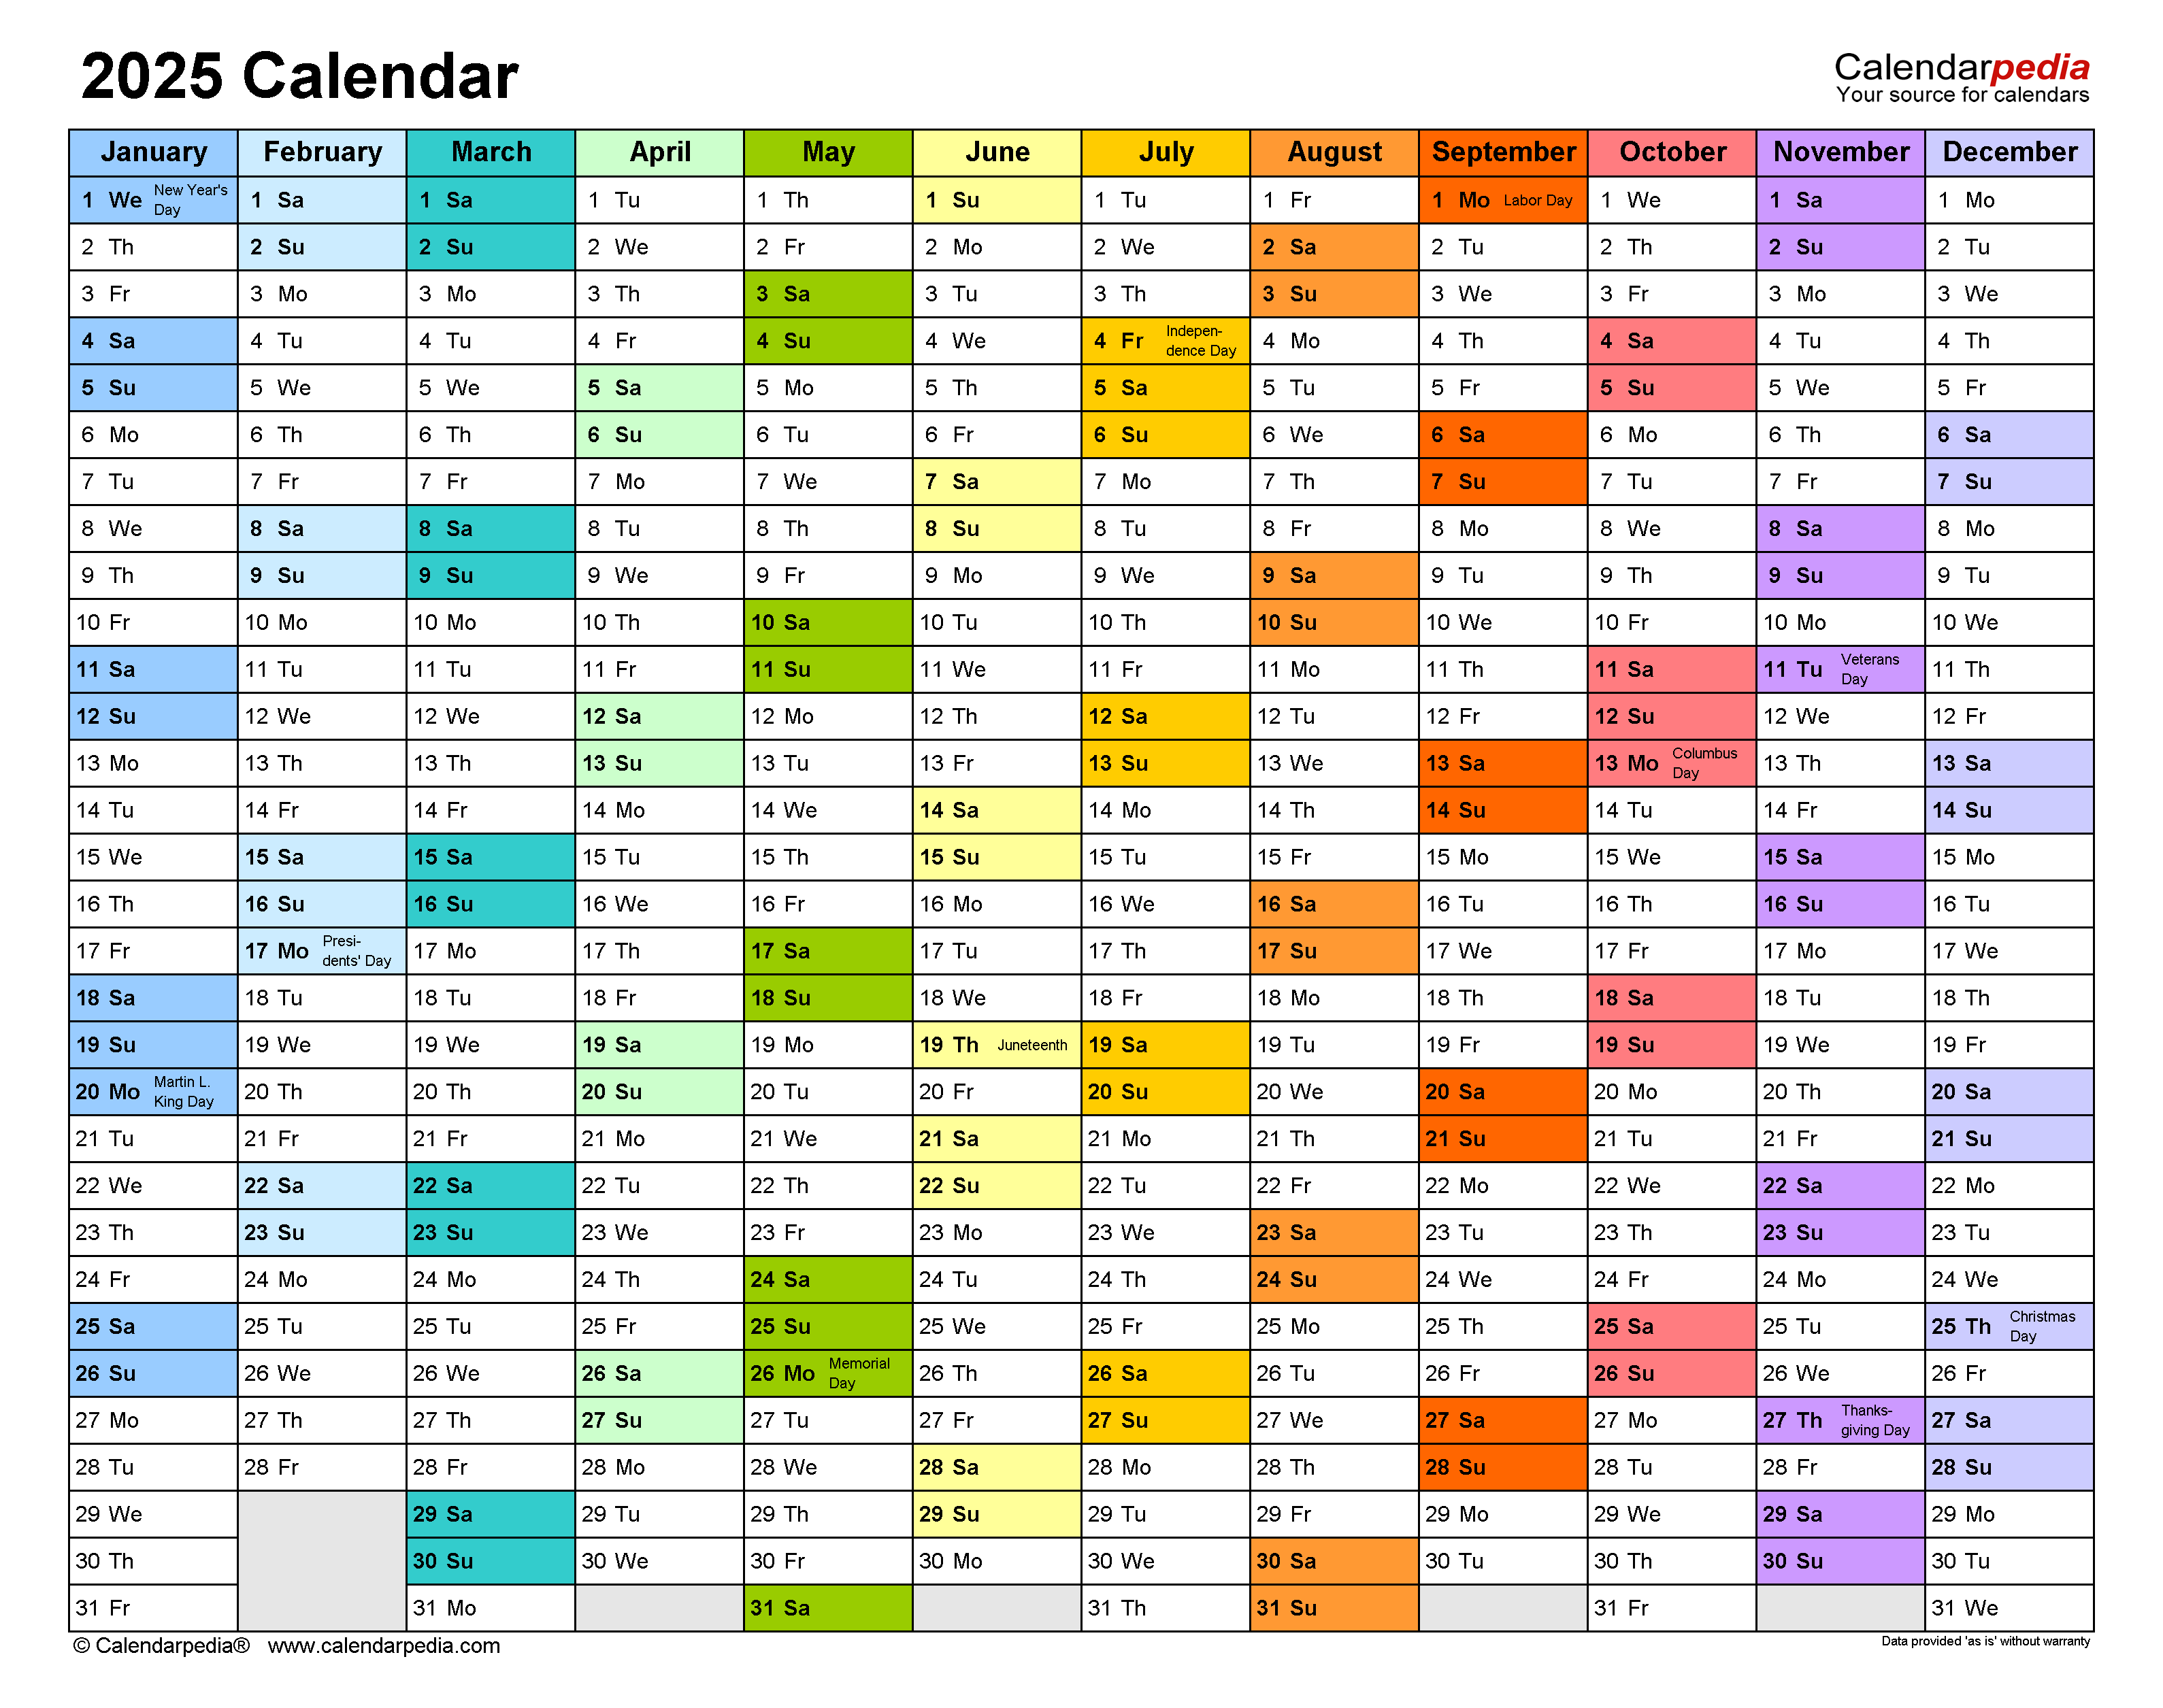
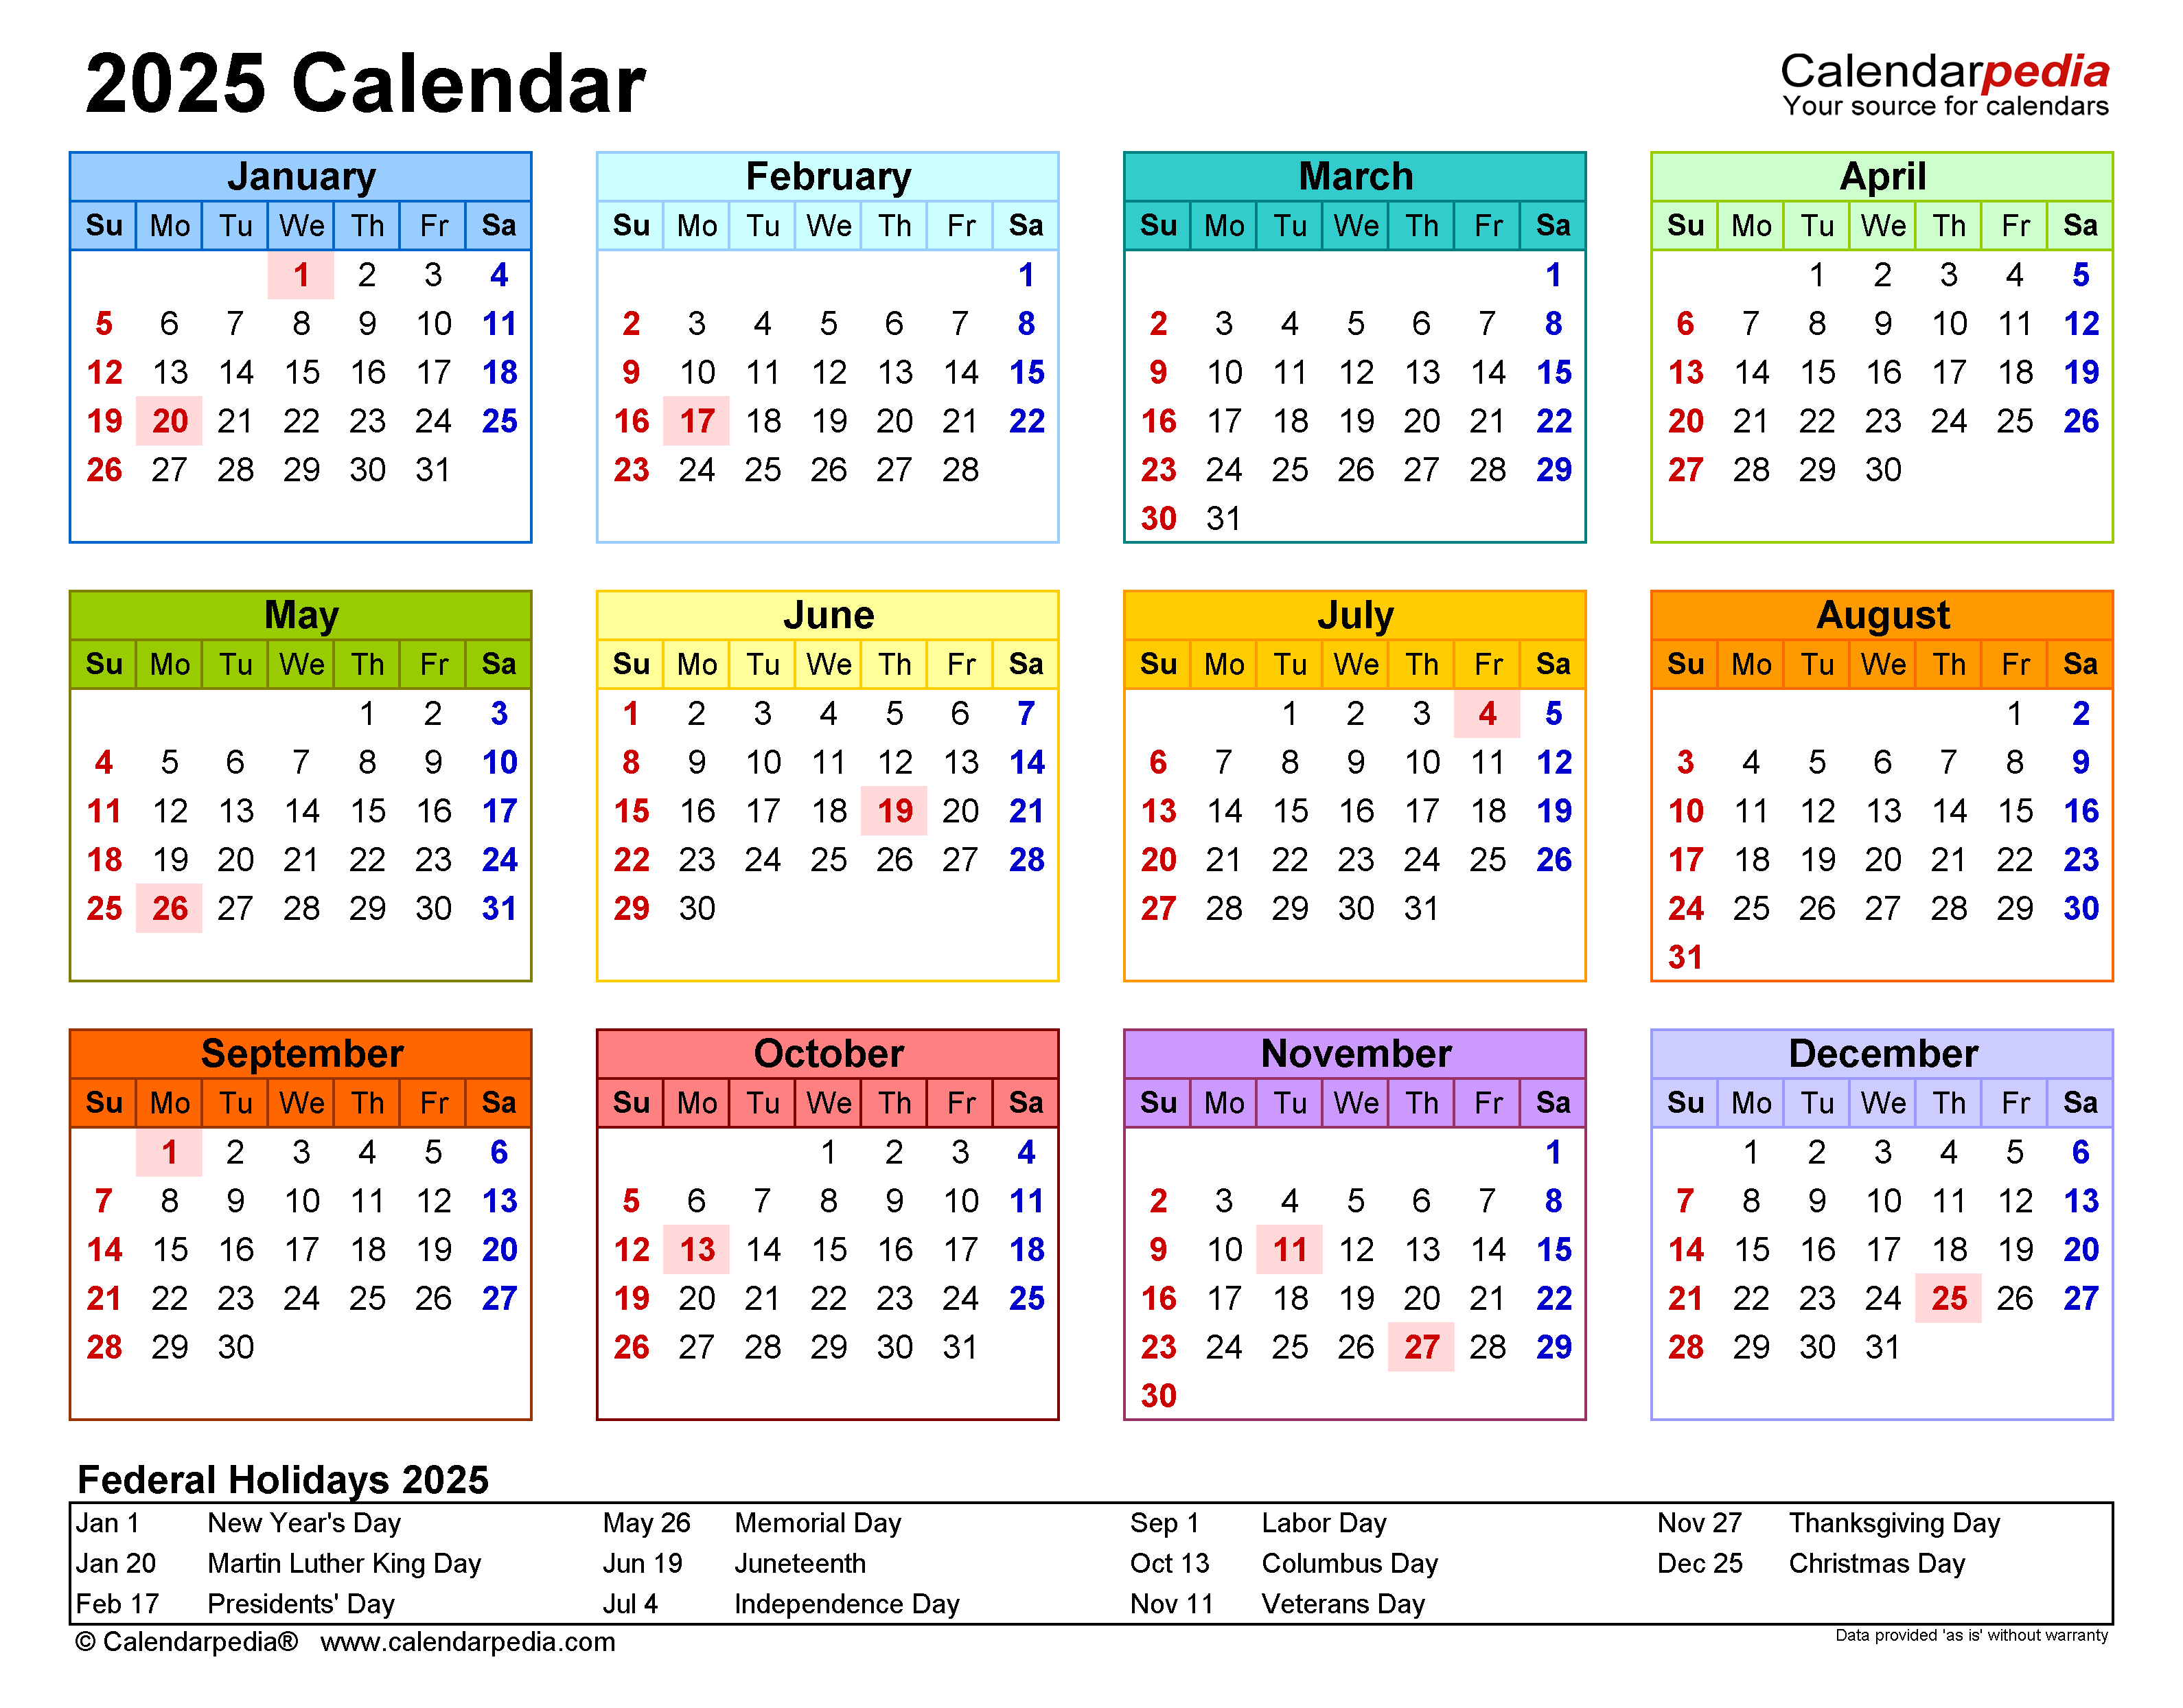
The first step in creating a calendar is to set up the header. This includes the year, month, and day.
To do this, enter the following information into the first three cells of the first row:
- Cell A1: 2025
- Cell B1: January
- Cell C1: Monday
Step 3: Create the Days of the Week
The next step is to create the days of the week. To do this, enter the following information into the first row of cells below the header:
- Cell A2: Sunday
- Cell B2: Monday
- Cell C2: Tuesday
- Cell D2: Wednesday
- Cell E2: Thursday
- Cell F2: Friday
- Cell G2: Saturday
Step 4: Populate the Calendar
Now it’s time to populate the calendar with the days of the month. To do this, start by entering the first day of the month in the cell below the corresponding day of the week.
For example, the first day of January 2025 is a Wednesday, so we would enter "1" in cell D3.
Continue filling in the calendar by entering the remaining days of the month in the appropriate cells.
Step 5: Adjust the Column Widths
Once you have populated the calendar, you may need to adjust the column widths to make it more readable. To do this, hover your mouse over the line between two column headers and drag it to the desired width.
Step 6: Format the Calendar
To give your calendar a more polished look, you can apply some formatting. Here are a few suggestions:
- Change the font: You can change the font of the calendar by selecting the cells and then clicking on the "Font" button in the "Home" tab.
- Apply borders: You can apply borders to the calendar by selecting the cells and then clicking on the "Borders" button in the "Home" tab.
- Add shading: You can add shading to the calendar by selecting the cells and then clicking on the "Fill" button in the "Home" tab.
Step 7: Save the Calendar
Once you are finished creating your calendar, you can save it by clicking on the "File" tab and then selecting "Save As" from the left-hand menu.
Choose a location to save the file and then click on the "Save" button.
Conclusion
Creating a calendar in Excel is a quick and easy way to keep track of your appointments and events. By following the steps outlined in this article, you can create a customized calendar that meets your specific needs.

Closure
Thus, we hope this article has provided valuable insights into Creating a 2025 Calendar in Excel: A Comprehensive Guide. We thank you for taking the time to read this article. See you in our next article!